Handmade Christmas Decorations Ideas

Whether you're thrilled or mortified at the prospect Christmas is just around the corner and what better way to get in the festive spirit than making your own decorations?! We have Christmas fabrics, ribbons, decoration kits and more and have created this handy page to help you find exactly what you are looking for plus we thought we'd share a few quick, simple ideas for whipping up some decorations in no time...
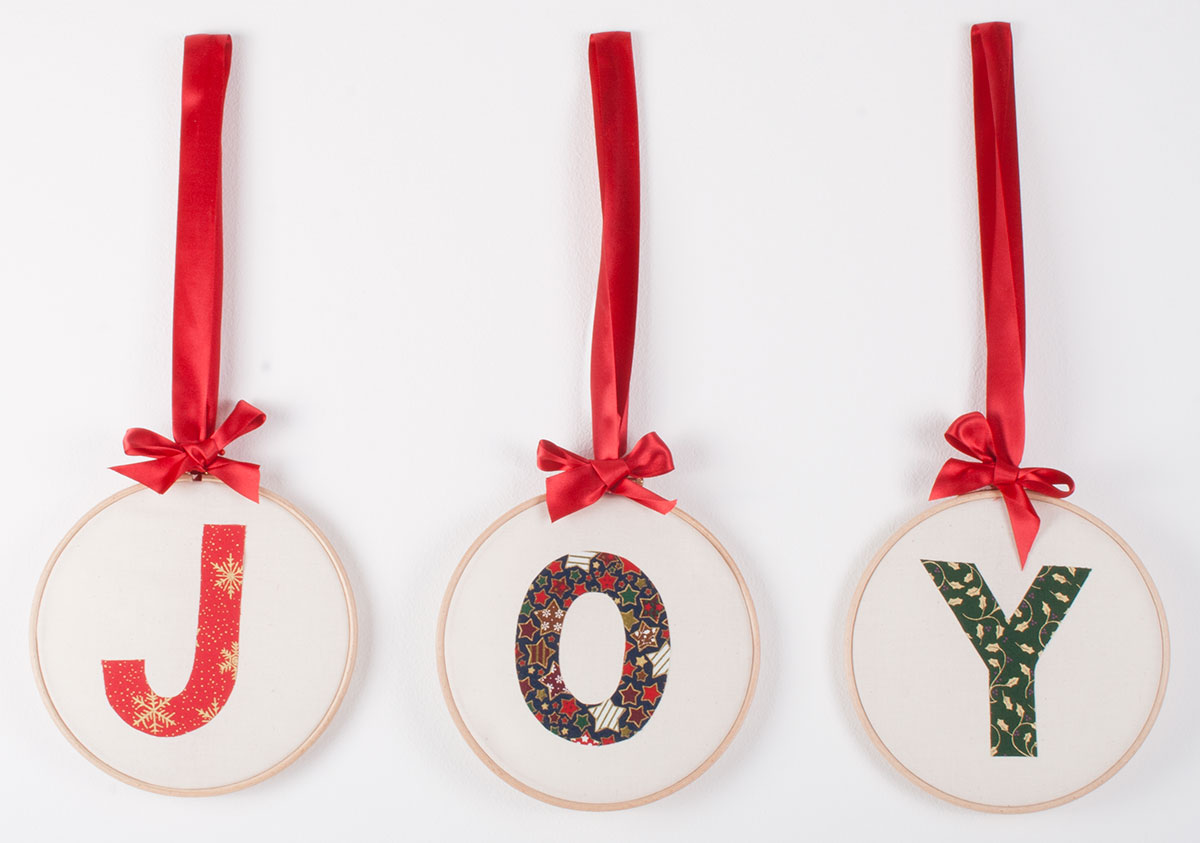
Embroidery Hoop Decorations
Embroidery hoops are a great way to display your crafty efforts and are easy to hang wherever takes your fancy. This simple idea is so effective and will instantly add festive colour and cheer to your home.
Kit
- Three embroidery hoops of your chosen size
- Scraps of Christmas fabric
- Bondaweb* (optional)
- Calico
- Thread in your chosen colour
- Ribbon in your chosen colour we chose this one
Embroidery Hoop Decoration Method
- Choose three embroidery hoops - you could opt for three the same size or vary it down to personal preference, we chose three 7" hoops.
- Print off templates for the letters 'J' 'O' and 'Y' (or whichever word you would like to display) checking their size against the embroidery hoops you have chosen. Free versions are available all over the Internet.
- Trace the letters onto the paper side of some Bondaweb remembering to draw them the wrong way around since you will be ironing the Bondaweb to the wrong side of the fabric.
- Roughly cut the piece of Bondaweb larger than the letter but slightly smaller than the piece of fabric.
- Place the rough side down onto the wrong side of the fabric and iron the bondaweb onto the fabric for 5 seconds with a dry iron. Remember to check the fabric is the right way up if it has a directional print.
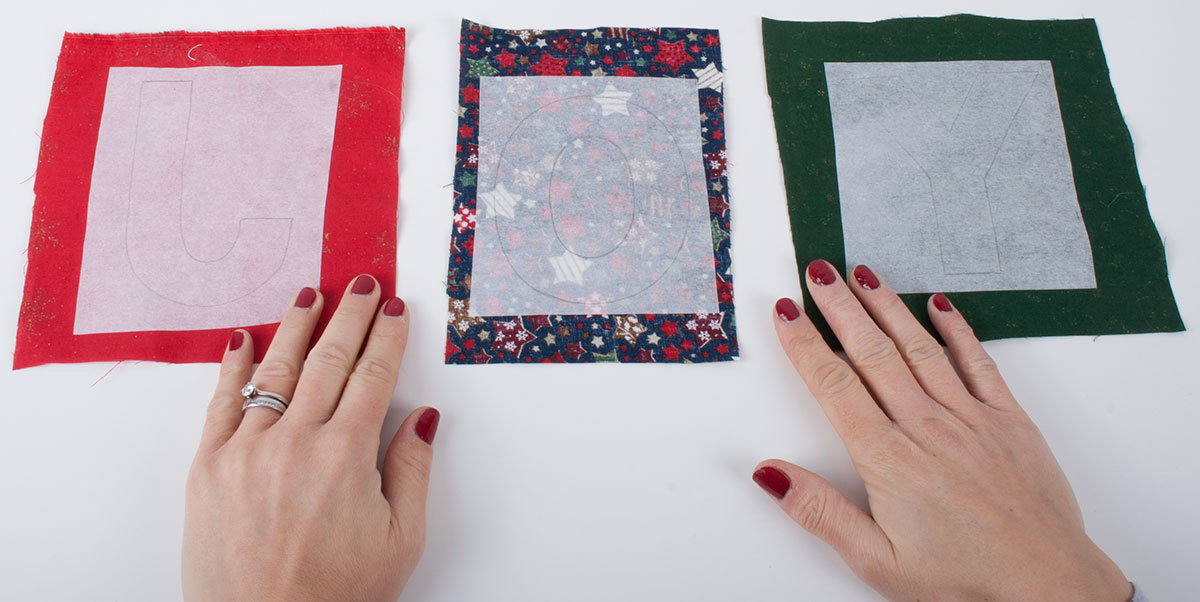
- Cut out the letter accurately - for cutting the centre out of letters such as an 'O' fold it in half and snip the fabric then make two snips towards the edge of the inner ring to get you started (sorry if I'm teaching my granny to suck eggs here, but these things can be baffling for first time crafters!)
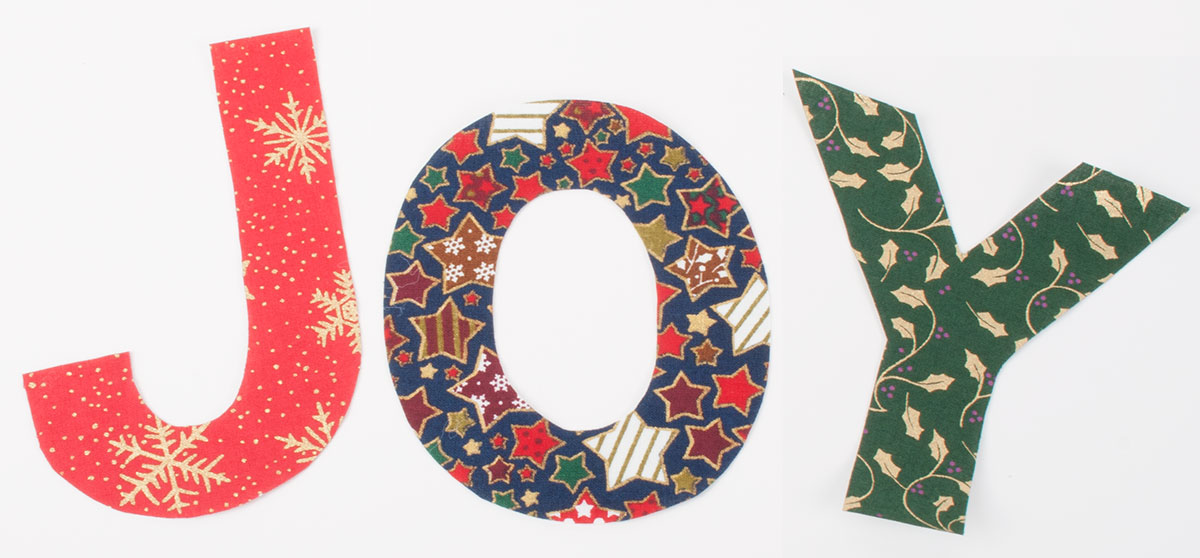
- Cut your base fabric ensuring it is bigger than the hoop (any excess will be trimmed off later).
- Peel the Bondaweb paper off the back of your letter and carefully position it on the background fabric (we are using calico) and iron in place by pressing down a dry iron for 10 seconds at a time until secured.
- Lie flat and leave for about 20 minutes to completely cool and set.
- If you're looking for a super quick no sew project just clip the fabric in your embroidery hoops as I have done. Alternatively stitch the letter in place by the preferred method - perhaps a simple straight stitch 1/8" from the raw edge or a blanket or satin stitch for a more decorative finish.
- Place the finished calico mounted letter inside an embroidery hoop and clip into position then trim away the excess fabric.
- Thread a length of ribbon through the gap under the screw at the top of your embroidery hoop and create a loop to hang it with by tying the ends neatly.
- Create a separate bow and sew a couple of hand stitches to keep it in place at the bottom of the ribbon loop.
There are so many other ideas to play around with - some good old fashioned embroidery using fancy threads, we even do glitter threads! Or how about snapping a range of different fabrics inside 4" embroidery hoops then hanging them in a triangle formation with a single hoop underneath as the bucket to create a Christmas tree display for your wall?
*Bondaweb is optional - you could remove this step and simply cut out a fabric letter and stitch to the calico/background fabric, but Bondaweb will help you to eliminate puckering and fraying resulting in a very neat finish, it's good like that!
Tree Decorations
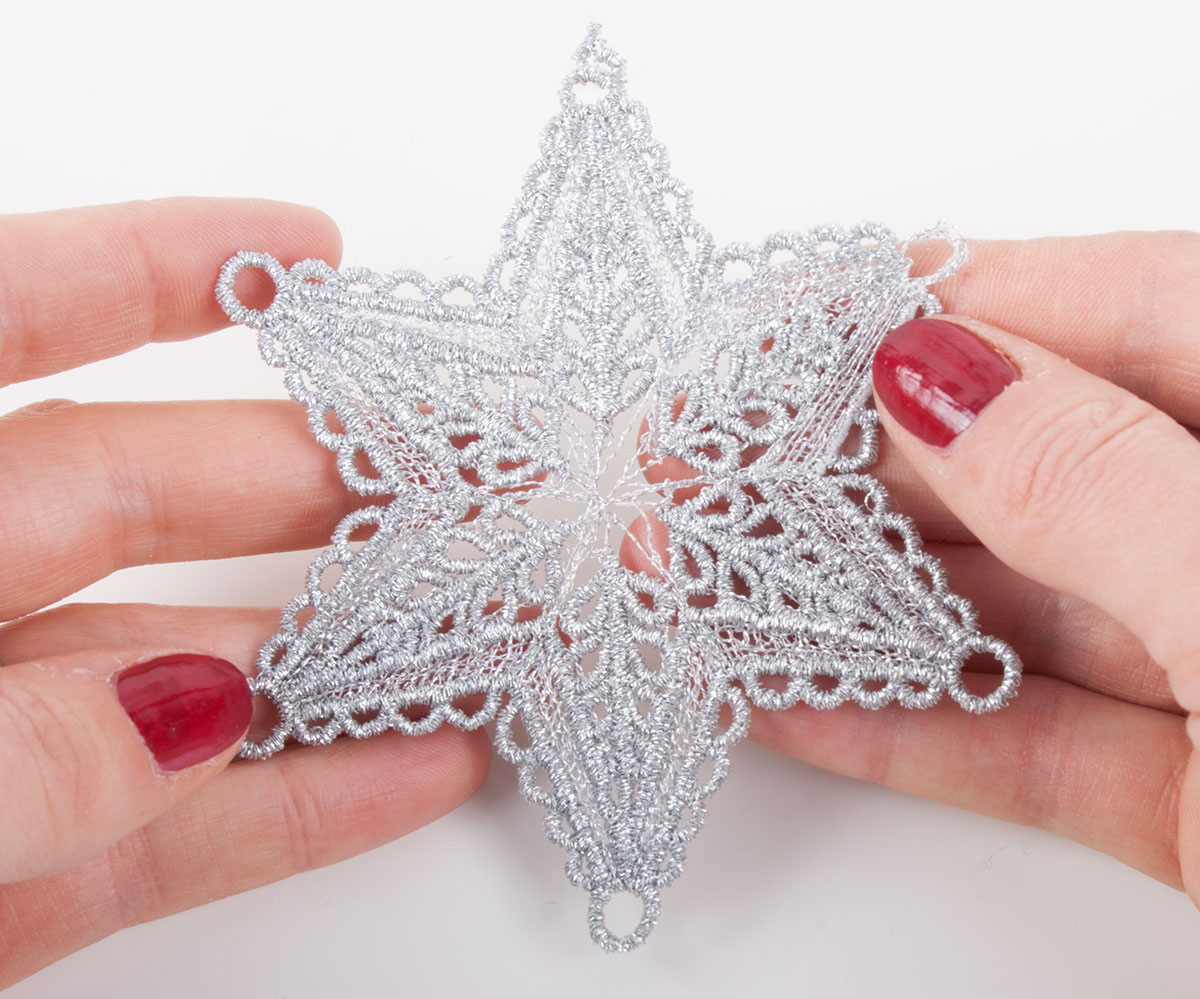
For those of you into machine embroidery (we're big fans here at Sew Essential!) Angela made some gorgeous lace snowflakes for her tree. If you're looking for more conventional tree decorations we have some simple stuffed decoration ideas too.
Machine Embroidered Snowflakes Kit
- Vilene solu-fleece embroidery stabiliser
- Free standing lace embroidery designs*
- Machine embroidery thread of your choice we chose metallic embroidery thread for the silver decorations and Gutermann Sulky rayon size 30 embroidery thread for the white one
*These particular designs aren't available on our site, but we do have an extensive range of embroidery designs on our site.
Machine Embroidered Snowflakes Method
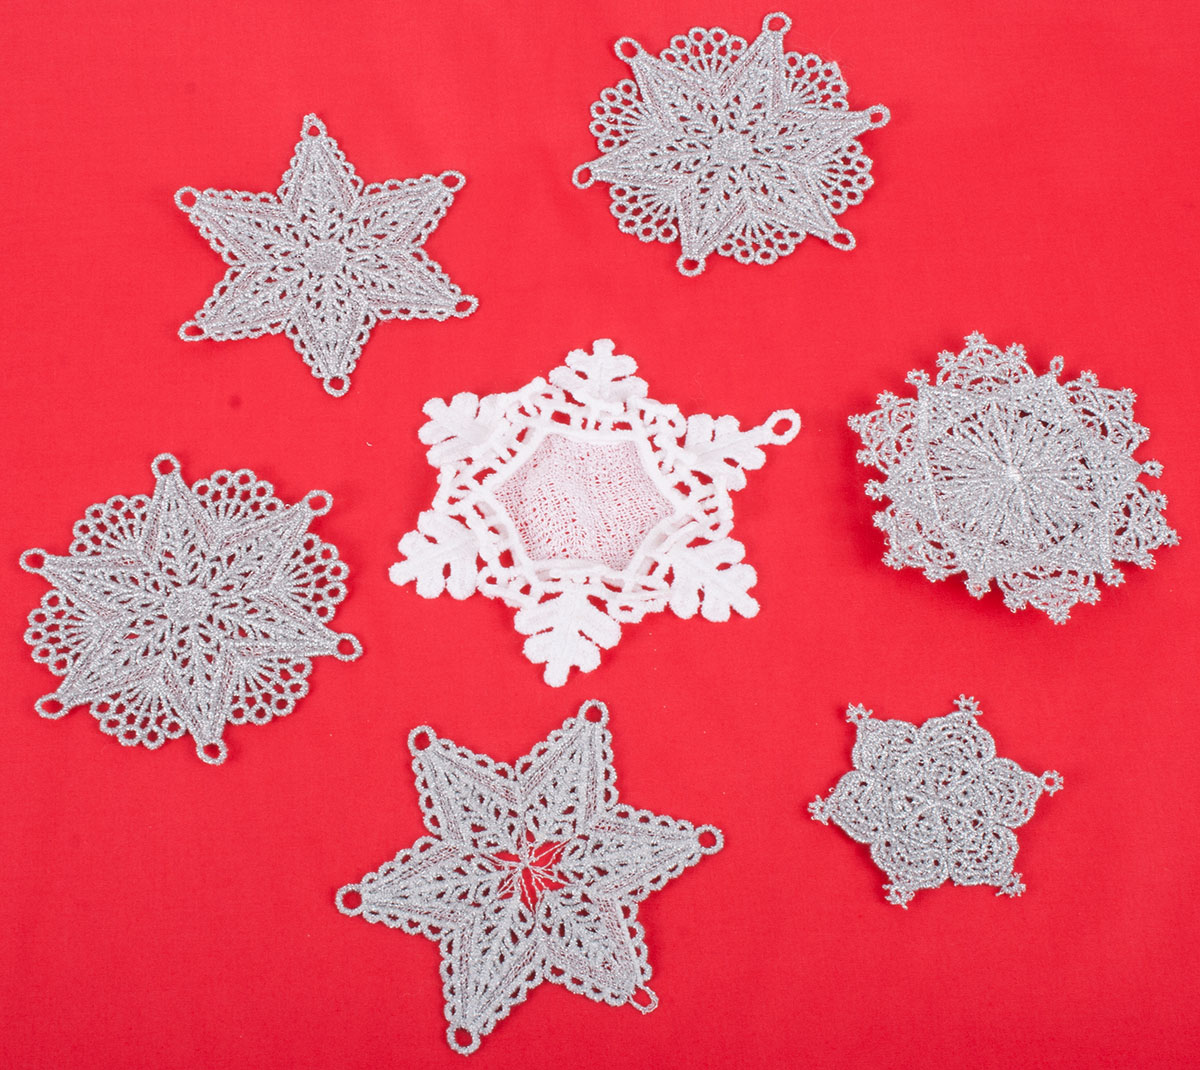
- When purchasing the lace designs it is vital you make sure they are free standing lace designs. If the designs are not for free standing lace your snowflakes will fall apart when you wash away the stabiliser.
- Stitch the designs on Vilene solu-fleece embroidery stabiliser using the machine embroidery thread of your choice.
- Angela chose a metallic embroidery thread on the thread stand and a silver grey embroidery thread in the bobbin.
- When using metallic threads use a needle with a large eye such as a metallic, jeans or top stitch needle. Try stitching a design out on your machine and if you have problems with the thread kinking use a double cone holder to stand the thread away from your machine as indicated by the diagram on the packet of the double cone holder. This works by increasing the distance between the thread and where it goes through the tension on your machine.
Tree Decorations Kit
- Christmas fabric
- Thread in your chosen colour
- Ribbon we chose this one
- Toy stuffing
Tree Decorations Method
- Create a template from card for each shape and trace round it on the wrong side of your fabric using tailors chalk or a marker of your choice. Remember to allow for a 1/4" seam allowance all the way around the edge, check the direction of the print on the fabric and remember to cut two pieces for each finished decoration because they will be double sided. If your shape is not symmetrical you will need to create one with the template the right way up then flip it for the other side of the decoration.

- Match the fabric shapes up and lie each pair right sides together. Position a loop of ribbon between the fabric shapes so the loop is next to the right sides and the ends of the ribbon is level with the top of the fabric shape and pin in place.
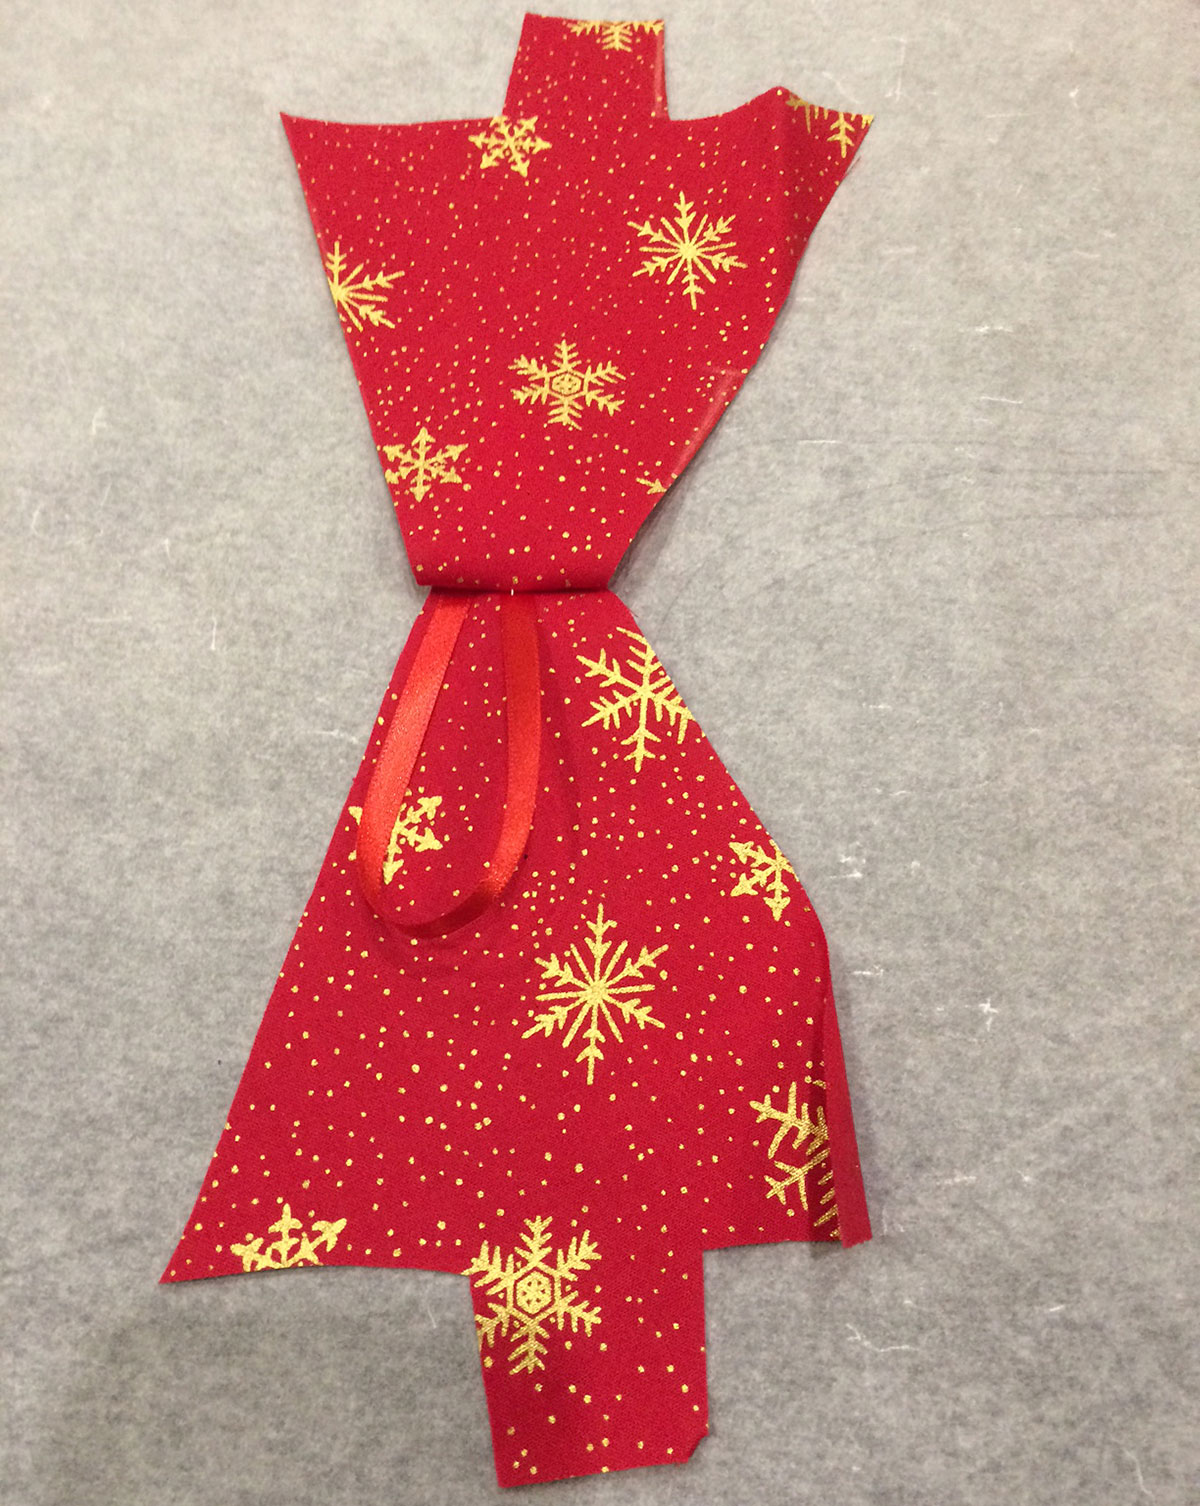
- Stitch a 1/4" seam around the edge leaving a small gap of about 1" to allow you to turn the decoration through and stuff it. Clip any curved seams by snipping from the raw edge to (not through!) the stitching line along the curve.
- Turn the decoration through so that the right sides of the fabric are showing. A tool such as this Clover hera marker or this Sew Easy finger presser can be helpful, although unconventional they work really well.
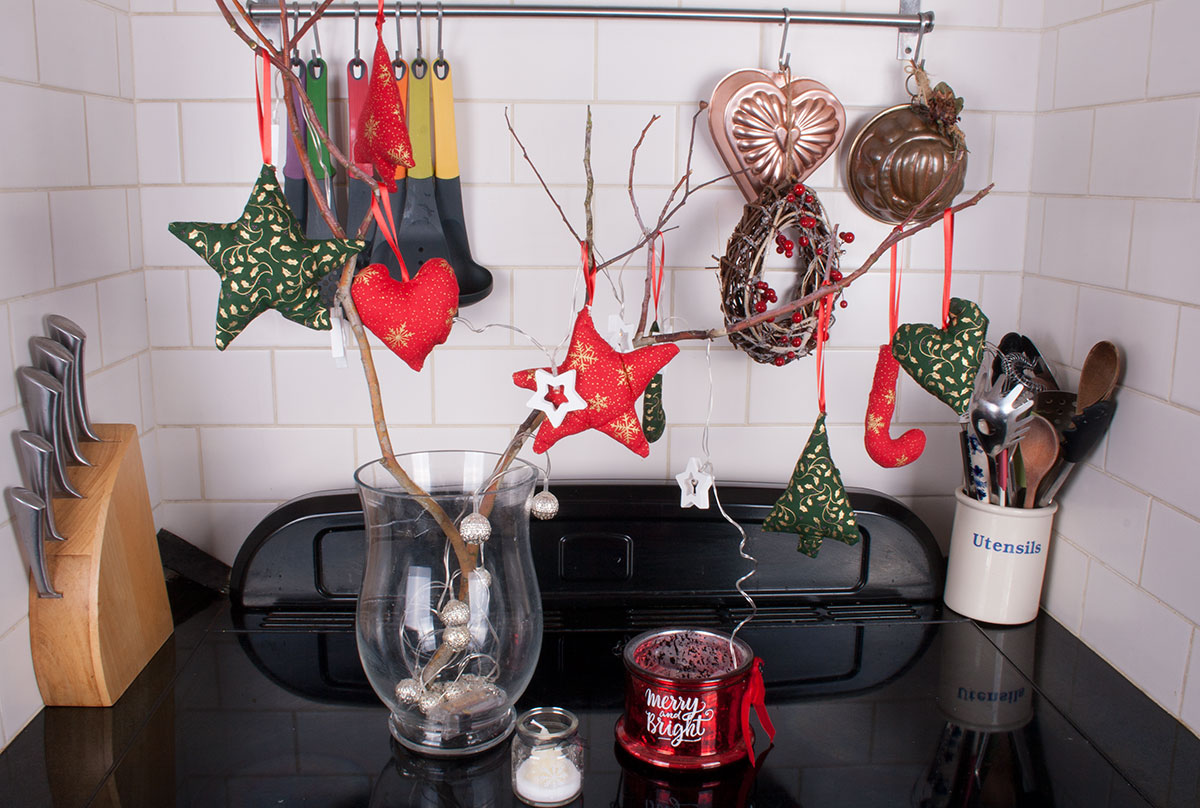
- Stuff the decoration and hand sew the gap then dress your tree with your handmade delights!
Another alternative are our gorgeous, festive and fun felt tree decoration kits or applique kits.
Bunting
Bunting Kit
- Christmas fabrics of your choice
- Tailors chalk or a marking tool of your choice
- Grossgrain ribbon or ribbon of your choice
- Thread in your chosen colour
Bunting Method
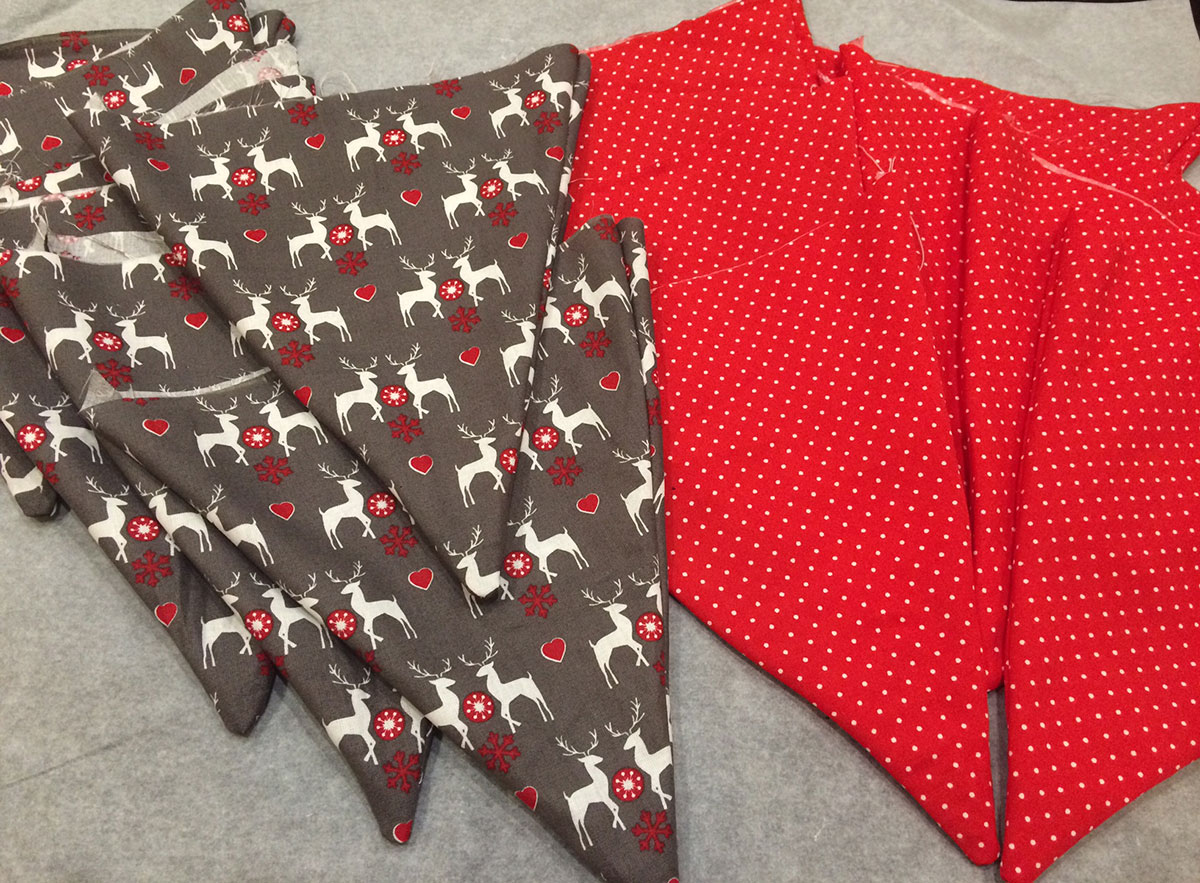
- Decide how big you would like your triangles to be and cut out a template in cardboard remembering to allow for a 1/4" seam allowance all the way around the edge.
- Use the template to mark the triangles onto the wrong side of your fabric using tailors chalk or another marker of your choice. For printed fabrics make sure the direction of the print is correct so you don't end up with reindeer or snowmen standing on their heads! Also remember you will need to cut two triangles for each finished triangle because they will need to be double sided.
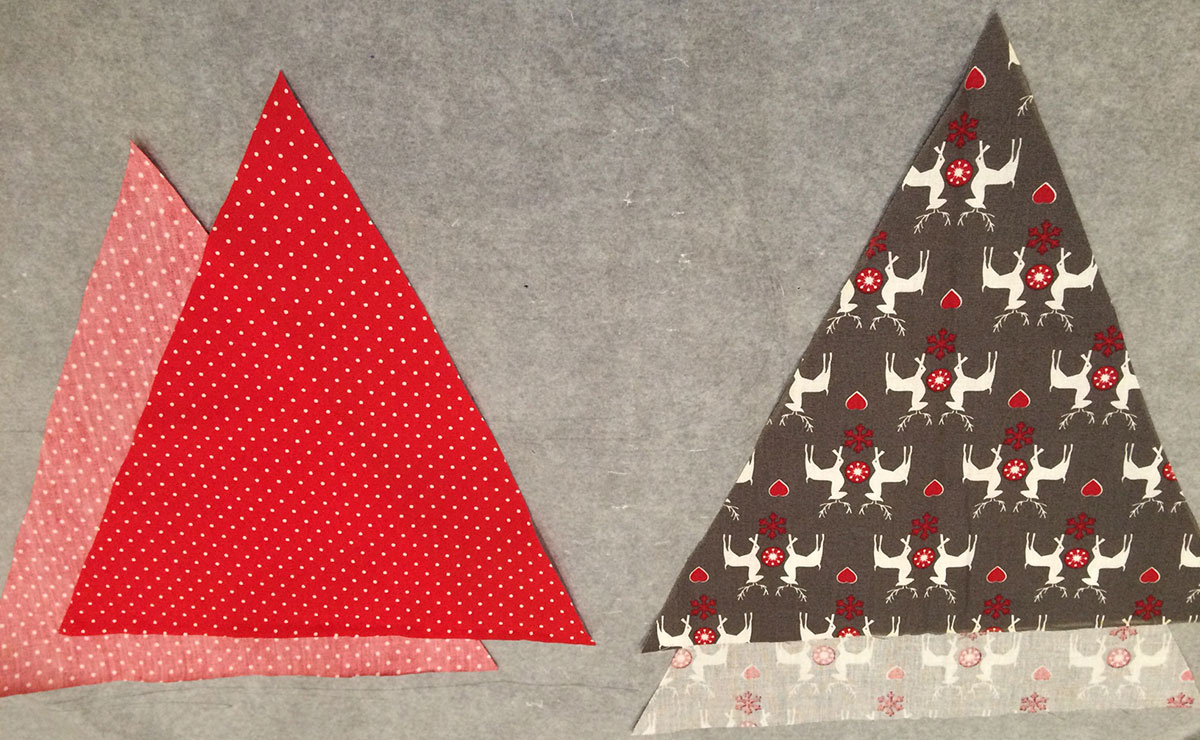
- Cut out your triangles and lay them right sides together then sew a 1/4" seam down each side towards the point leaving the top edge unstitched to allow for turning through. Either cross the lines of stitching or do a horizontal stitch across where the point will be to achieve sharp corners. Snip into your seam allowance towards the stitching line if necessary.

- Turn the triangles through to the right side. The tools we mentioned for the Christmas decorations may be useful again to achieve sharp points.
- Lie your ribbon on a flat surface and position the triangles along the ribbon. Pin the triangles in place and stitch. For a neat and professional finish ribbon can be attached to both side of the triangles, but this is optional.
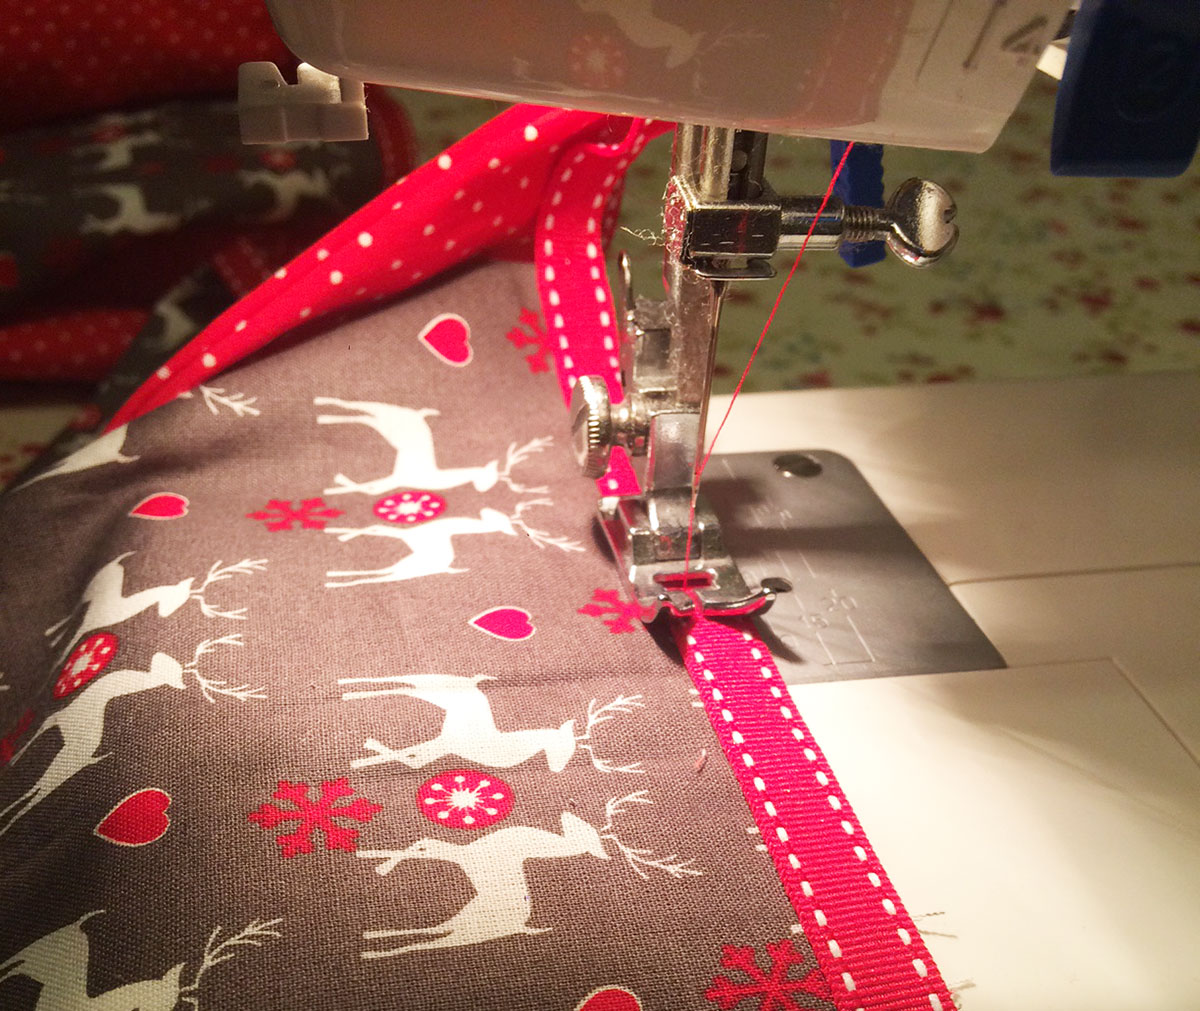
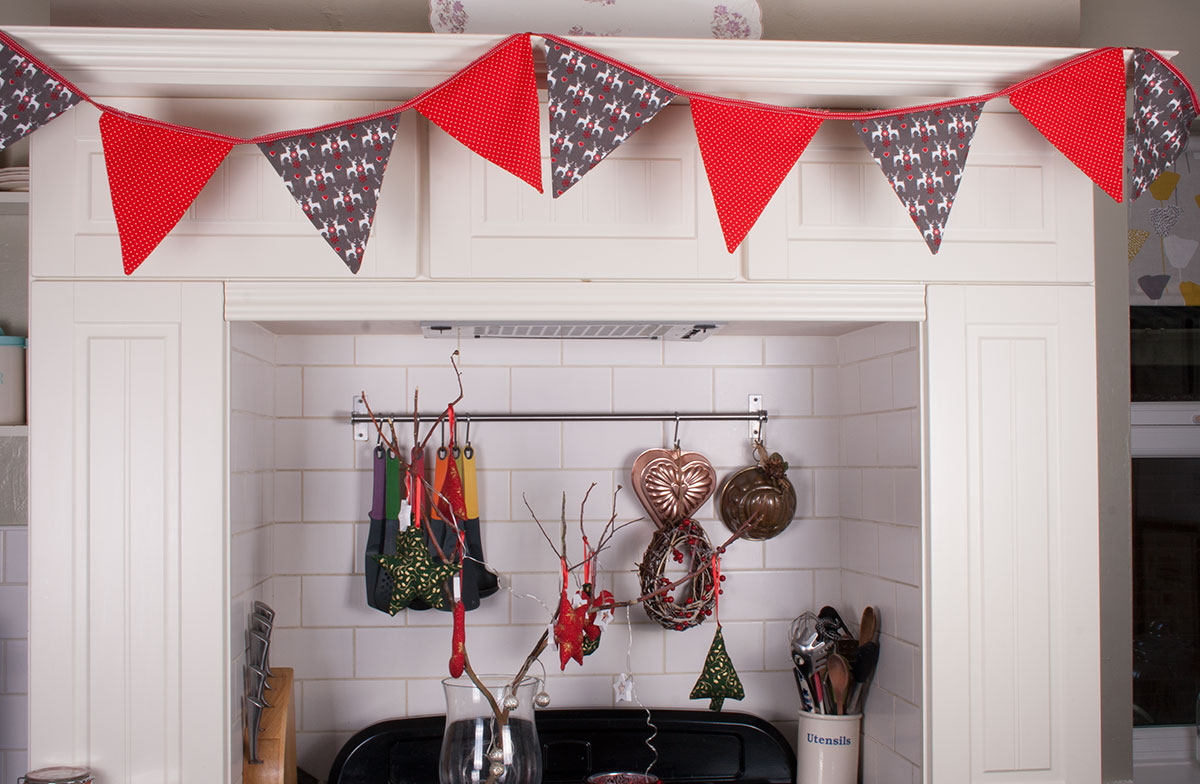
- Trim any loose ends of thread and hang your lovely bunting.
Have fun sewing and crafting!
Lucy and Angela
For more tips and tricks on how to make sewing easy you can follow our blog via Bloglovin and receive updates via email each time a new post is added.
Follow us on Facebook Twitter and Instagram for news, tutorials, special offers, sales and more.