Sewing a 60s Tartan Pinafore Dress & How to Pattern Match Fabric

As those of you who follow us on Instagram will know I'm currently loving retro and vintage fashion reflected in my most recent sewing project - a 60s pinafore dress pattern in our lovely tartan fabric, which was also the perfect opportunity for me to practice pattern matching fabric. I've always loved this Simplicity pattern having spotted it many times making it's way to one of our lovely customers and thought it would be perfect for one of the biggest trends this season - tartan.
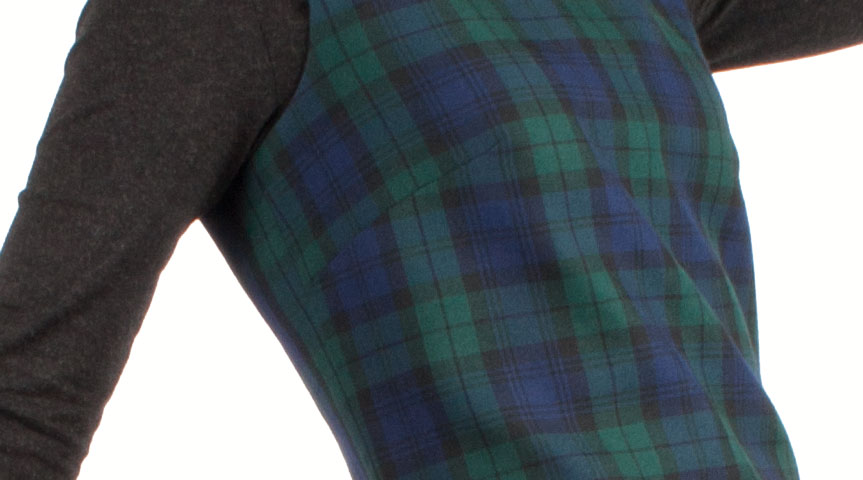
I chose the navy blue and bottle green colourway of our super smart Lindsay tartan and decided to line it with our navy blue anti static polyester taffeta lining for a truly professional finish. I thought my recently made Kwik Sew turtleneck top would be the perfect pairing with thick black tights and knee high boots for a nod to the swinging 60s.

Although this is an incredibly simple dress to make there was a nice little challenge of pattern matching thanks to the tartan checks - I mean they simply had to match perfectly didn't they? There were only two pattern pieces to cut since I chose to line the dress rather than use facings to finish the neckline and armholes and I used the notches on the side seams to match the checks when cutting the fabric.
Next I sewed the darts in the front and back using a super technique I found online, which gave me an excellent finish with no bubbling at all and no need to tie any loose ends of thread. You simply stitch your dart in the normal way from the widest point to the most narrow point. When you are about 1/4" away from the point shorten your stitch length and stitch right to the fold. With your needle up and thread still attached move the fabric towards you then set your needle down in the fold of the dart. Sew a few stitches and back tack to secure the thread and your dart - how clever is that?!
Unfortunately once I had sewn the darts in the front of the dress this threw all of my pattern matching efforts out of the window and the checks didn't line up correctly at the side seams. I showed Angela and she explained that it was better to start from the hem and work my way up for pattern matching since it would be more obvious on the skirt than under the arms where it might start to 'un-match' due to the curves created by the darts so I followed this advice and cut the back pieces out a second time.
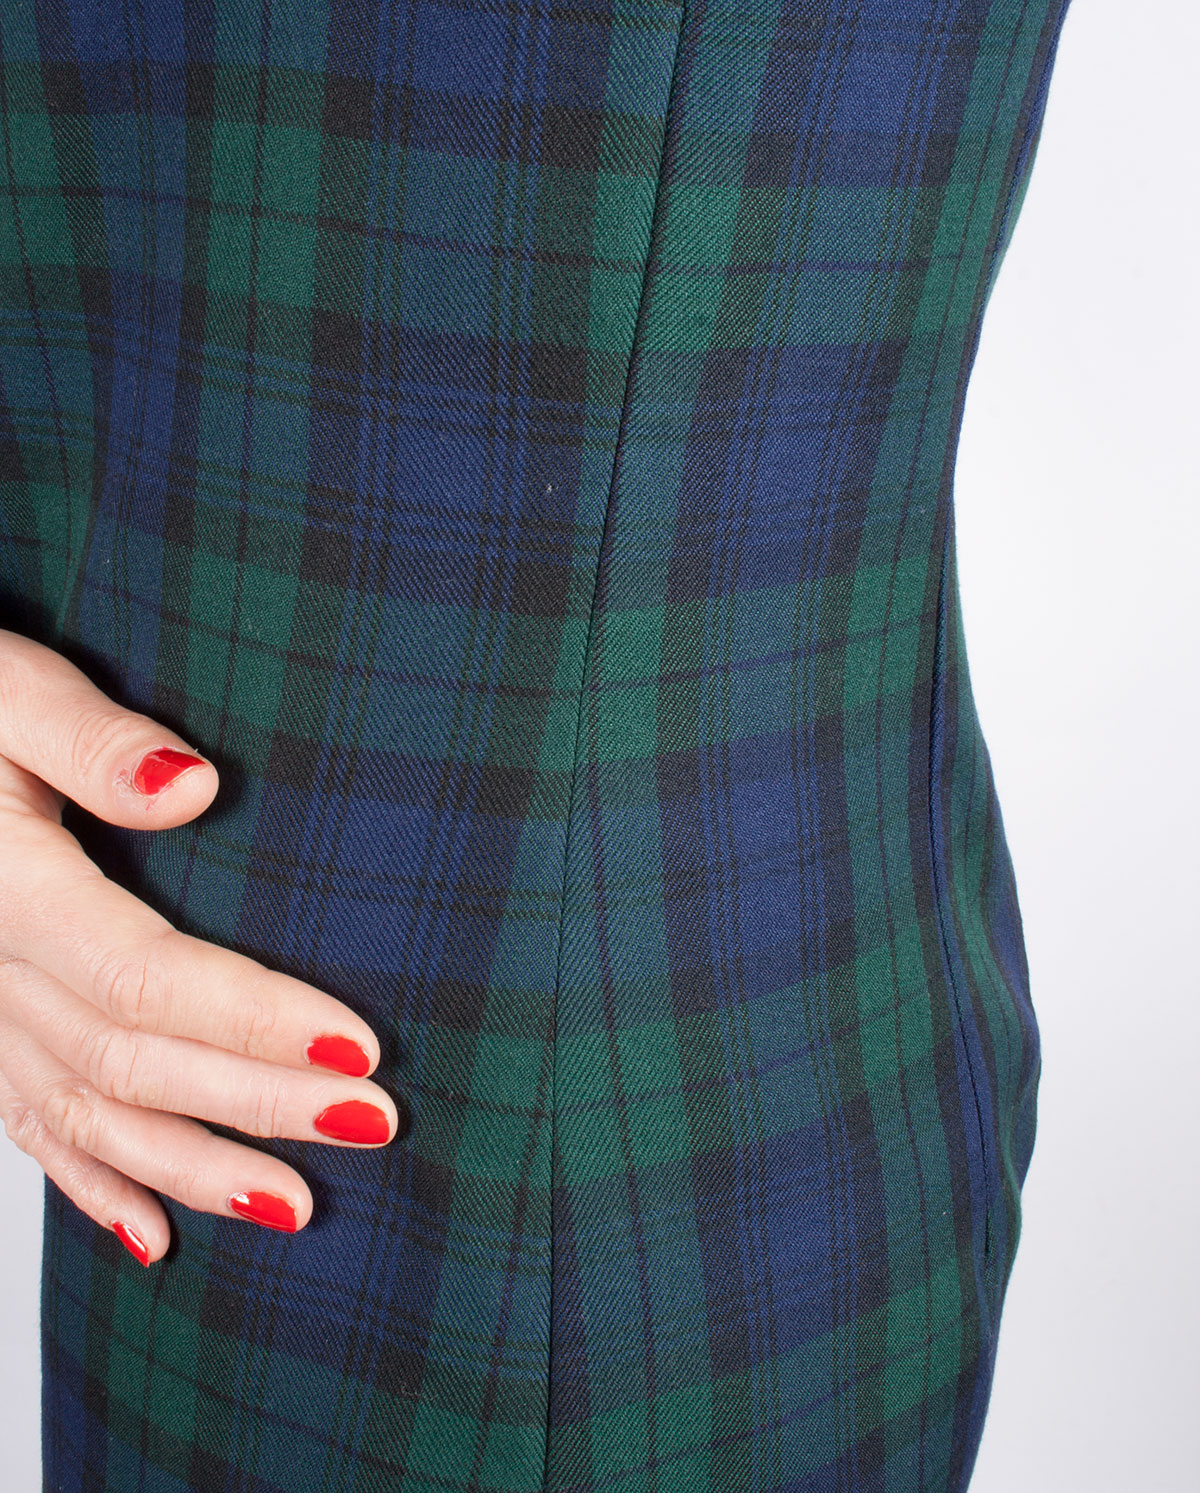
I should also mention I omitted the dart from the centre front of the dress because I didn't think this would work well with the checks. The checks run beautifully down the centre of the dress at the front and back and I am thrilled with how that worked out. Confession time - this was a complete fluke! I didn't think about this when cutting the fabric and in hindsight it would have looked atrocious if the checks had gone off piste so I was very lucky and will remember to always check the pattern positioning as well as matching next time I tackle a similar project.

I used a great technique for lining the dress, which avoids any hand stitching at the shoulder seams and you can see this demonstrated in the video below:
Thanks to Angela's advice everything matched up nicely when I sewed the side seams and I was loving the dress more every minute. I used my walking foot to make sure the fabric fed through my machine evenly so the checks remained in the correct position when sewing.
When I came to insert the invisible zip I knew I needed to take extra care to make sure the pattern matching on the back of the dress didn't let the sides down so to speak. This is when I noticed that the pattern didn't quite match up where I'd cut the fabric at the neckline. I had been so focused on the side seams that I hadn't thought about the neckline. Luckily it was only slightly out, about 1cm or so, but I couldn't fathom the best way to correct it.
I called it a night, pondered it and eventually came up with the solution - I moved the seamline slightly at the neckline to take away the excess fabric on the side that was sitting slightly higher at the top. I measured and marked everything with my chaco pen first to make sure it would be spot on and was really pleased with the result. I do love to solve a sewing problem - is there anything more satisfying?!

Now I could insert the zip and I took extra care to ensure the stopper was exactly the same distance from the neckline on both sides (1/4") I also used my chaco pen to mark a point roughly halfway down the zip tape on both sides and marked the fabric in the same place so that I could check everything was lining up correctly when positioning the zip.
I used basting tape to position the zip, which is much easier than using pins and allowed me to easily reposition the zip tape to get everything lined up perfectly. You can see more information on this technique in our previous 'how to sew an invisible zip' blog post.
Now I look at the photos I can see the pattern matching could be more perfect across the back, but I'm pretty pleased with the results baring in mind my limited sewing experience.

Finally the dress needed hemming. There are a few options for length with this pattern and I wanted my dress to sit an inch or two above the knee. I had cut the longest version of the dress to allow myself plenty of fabric to play with and the huge amount of excess fabric made it difficult to pin the hem in place to decide on the length (it kept falling down due to the weight of the fabric). I thought I had allowed myself plenty of room for manoeuvre and was sure I would probably have to trim the hem down even further, but I was wrong - it is really short!
I was really gutted to have cut it too short because this is one of my proudest makes by a long way. Any mistakes I made were rectified and I took my time to do things properly and get a really good finish so why oh why did I rush the hem at the end?! I've managed to convince myself I can just about get away with it because I will be wearing thick black tights, but if I made this dress again I would definitely go for a longer hemline!
I still took the time to hand sew the hem using a slip stitch to make sure the dress had a super professional finish, even if it was a bit on the short side! The handy table in our 'How to Hand Stitch Hems' blog post is always a good reference point for when trying to decide on how deep to sew a hem or which method to use.
I would highly recommend this pattern to anyone - it was incredibly easy to fit and to make and is a really lovely staple item to have in your wardrobe. It is the perfect pairing with the Kwik Sew turtleneck and will keep you nice and warm in the winter months. I also think it would look lovely with a shirt or blouse in the spring.

I cut a size 12 (34" - 26 1/2"- 36") even though my measurements are (35" - 28 1/2" - 36") and was very happy with the fit with no adjustments necessary, although I would probably put a couple of darts in the back neckline next time because it gapes away from my upper back slightly.
Right, I'm off to do the hippy hippy shake!
Have fun sewing!
Lucy
For more tips and tricks on how to make sewing easy you can follow our blog via Bloglovin and receive updates via email each time a new post is added.
Follow us on Facebook Twitter and Instagram for news, tutorials, special offers, sales and more.