
Overlockers aren't just for finishing seams and in this video I'll show you 7 clever tips to take your overlocker skills to the next level. If you've ever struggled to sew a neckband without a bulky bit at the end or wrestled with tricky sewing tasks, like turning through a rouleau strap, this video and blog post is for you.
Getting the Most Out of Your Overlocker
Purchasing an overlocker is a natural next step for many sewists once they've got to grips with a sewing machine and made a few garments with a view to improving the finish of their handmade clothes and to make sewing stretch fabrics easier. However, you can really do so much more and it is worth investing some time getting to know your overlocker and what it can do.

If you're not entirely sure what an overlocker is or what it does, check out our 'Beginner's Guide to Overlockers' post.
With a few simple tips you can start to create entire garments to a very professional standard and even add fancy details on your overlocker plus you can save yourself a lot of time too. Check out our article and video 'How to Sew a Dress on an Overlocker' to see a garment created on an overlocker from start to finish.
There will be times when you will even choose to complete a task on your overlocker rather than your sewing machine making your sewing adventures more varied and making you feel like a true sewing pro.
Let's get stuck into the tips and remember, this isn't an exhaustive list, there are more where these came from.
Overlocking Bulky Seams
Have you ever struggled sewing over the bulky area where two seams cross on your overlocker? This is often the case when sewing a hem and you need to stitch over the side seams or centre back seam.
A great little tip is to snip into the seam allowance of the seam you are trying to cross to, not through, the seamline.
You can then push one side of the seam allowance in one direction and the other side in the opposite direction reducing the amount of bulk you need to stitch over by half. This makes it much easier for your overlocker to glide over the fabric and maintain good quality overlocking stitches as you sew.
Neckband Technique
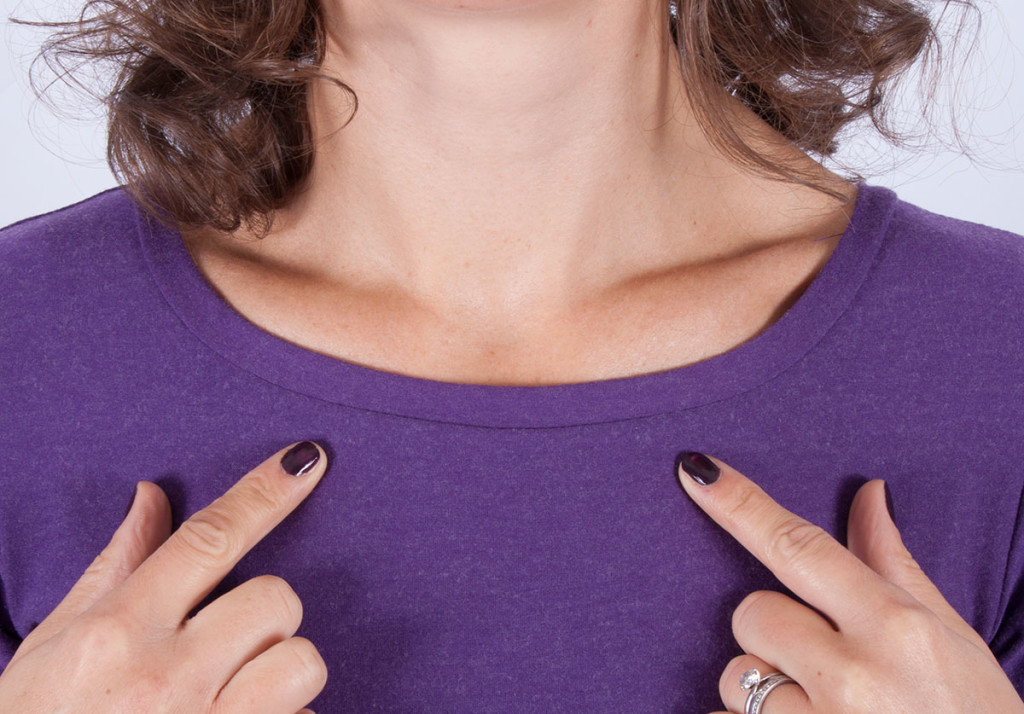
When sewing in the round on an overlocker such as a neckband or armhole it can be tricky matching everything up at the end without an uneven bulky patch.
To avoid this snip into the neckband and neckline where you want to start sewing to the point that your overlocker blade would snip the fabric off to create the seam allowance you want to sew with (usually about 1/4" for a 5/8" seam).
Then cut along the length of the neckband and neckline for about 4cm and snip back out to the raw edge with the same width you started with at the end.
In essence you are cutting out a little section of the fabric which will be x wide and 4cm long.
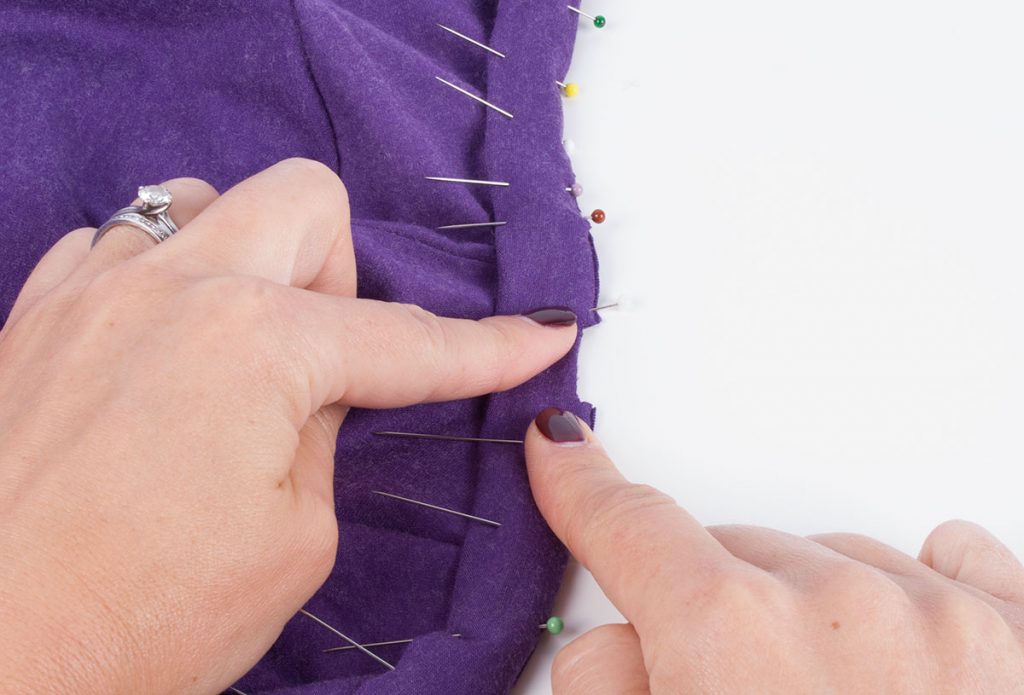
Position the cut out section under the presser foot lining the point where the excess fabric juts out at the front up with your overlocker blade.
This will allow you to start sewing in the correct place and finish sewing in the correct place without any bulky overlap.

Another tip is to use your sewing machine to tack the neckband in place before sewing it on your overlocker if you are nervous about getting it right.
Gathering Stitches
Gathering stitches can be very time consuming to sew on a sewing machine requiring two if not three rows of stitches depending on your preference.
Did you know you can create them really quickly on your overlocker?
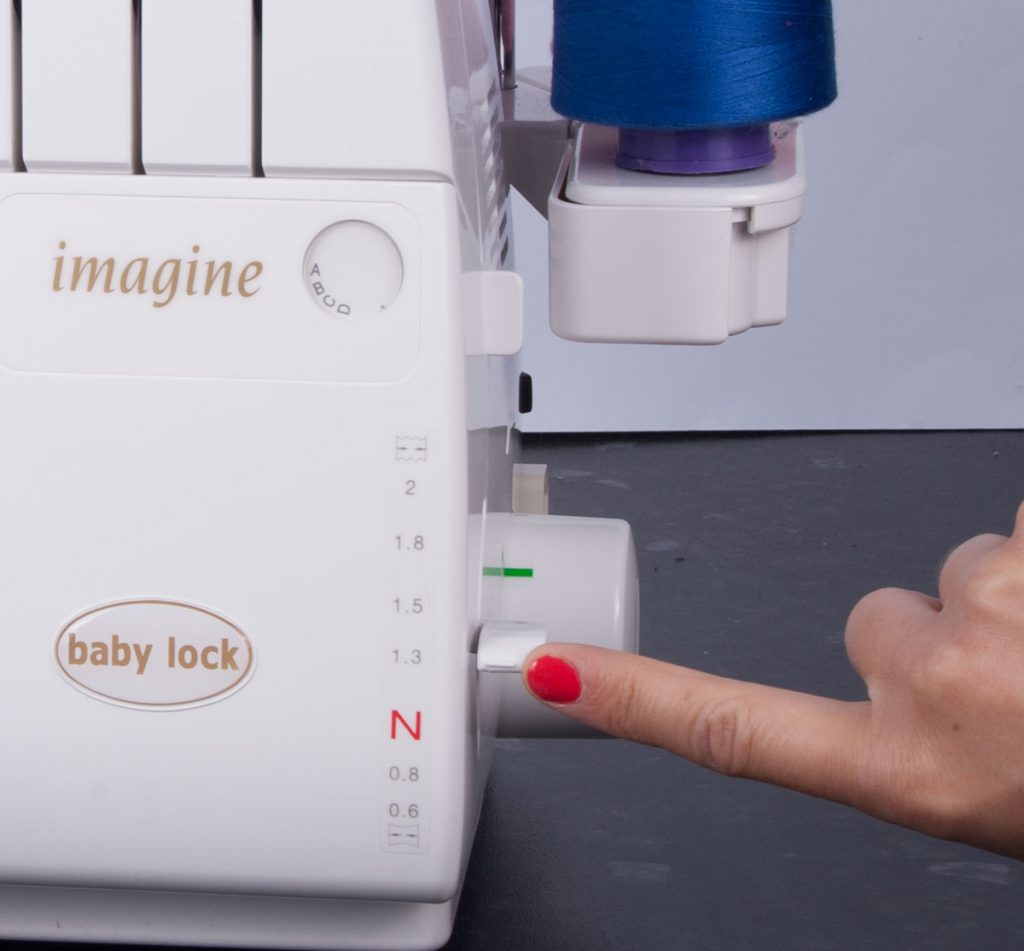
Simply thread up your overlocker for a four thread overlocking stitch, knock the differential feed up a couple of notches and increase the stitch length to the maximum then simply sew along the edge of your fabric in the normal way to create subtle gathers.
Knocking the differential feed up makes the front feed dogs move faster than the rear feed dogs and gathers the fabric as it is sewn.
If you want to exaggerate the gathers gently pull the middle thread to bunch the fabric up more closely.
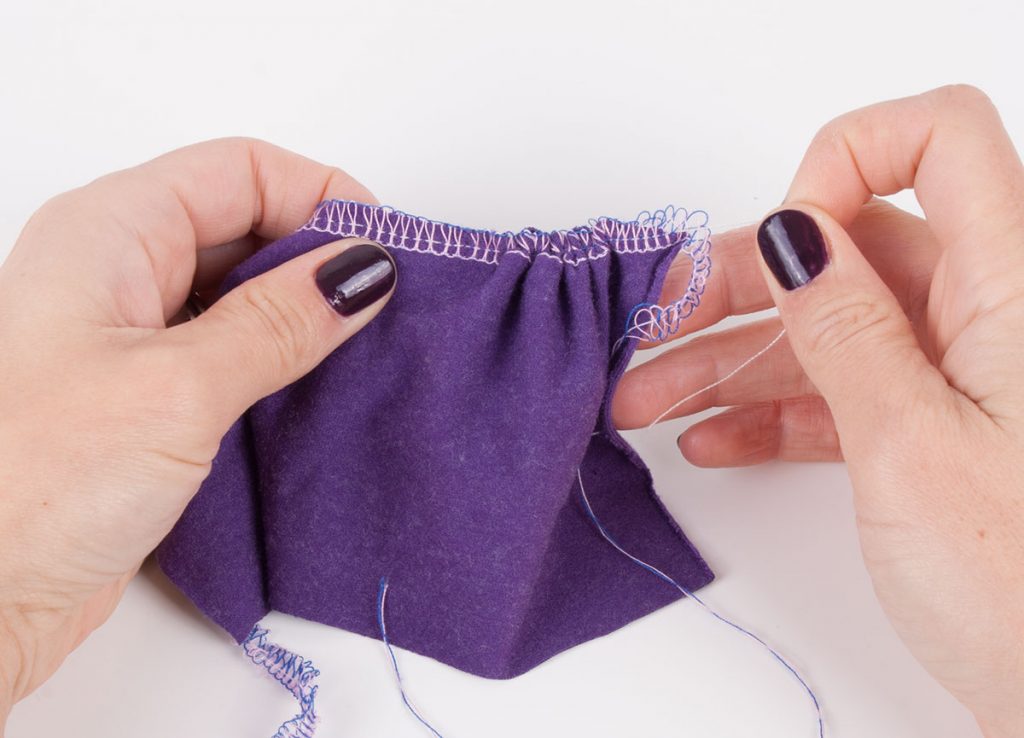
This technique works better on woven fabrics, however, you can also get good results with stretch fabrics such as jersey fabrics if you pull the middle thread to exaggerate the effect.
Rolled Hem
A rolled hem is a pretty finish for a raw edge often used on delicate and lightweight fabrics.
If sewn by hand it can be very time consuming, however, you can create one on your overlocker in no time at all.
On my Babylock Desire 3 overlocker I threaded one needle and both loopers, selected the relevant stitch width, the rolled hem option on the length dial and D on the stitch selector.
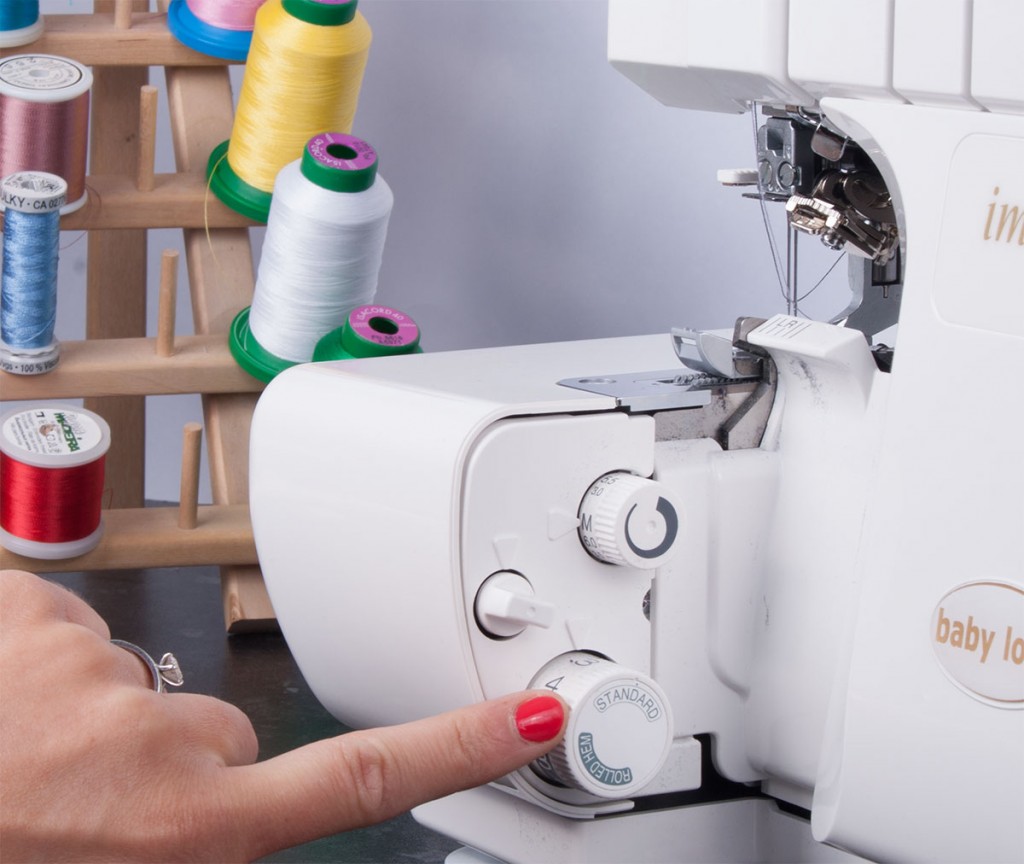
On other makes and model of overlocker the settings might be different - refer to your manual for full details. You might need to remove the left or right needle, work with a narrow stitch and possibly adjust the looper tensions.
If trying out a new technique I always recommend to practice on scraps first.
A nice idea is to try decorative threads or perhaps woolly nylon in the loopers. Woolly nylon is a thicker, stretchier thread and fills the stitches in more for better coverage. You can see our full range of overlocker threads and flosses here.
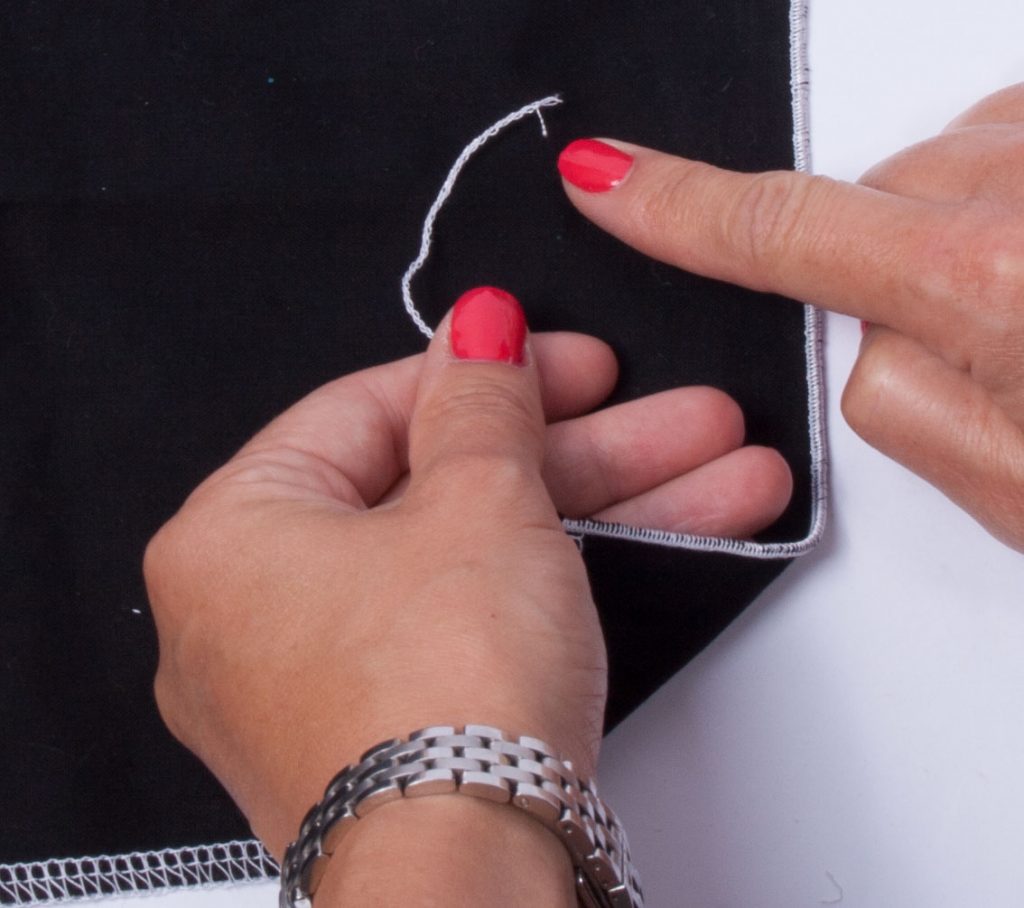
If you run off a chain of rolled hem stitches you can also use them as belt or button loops rather than hand sewing them.
Lettuce Edge
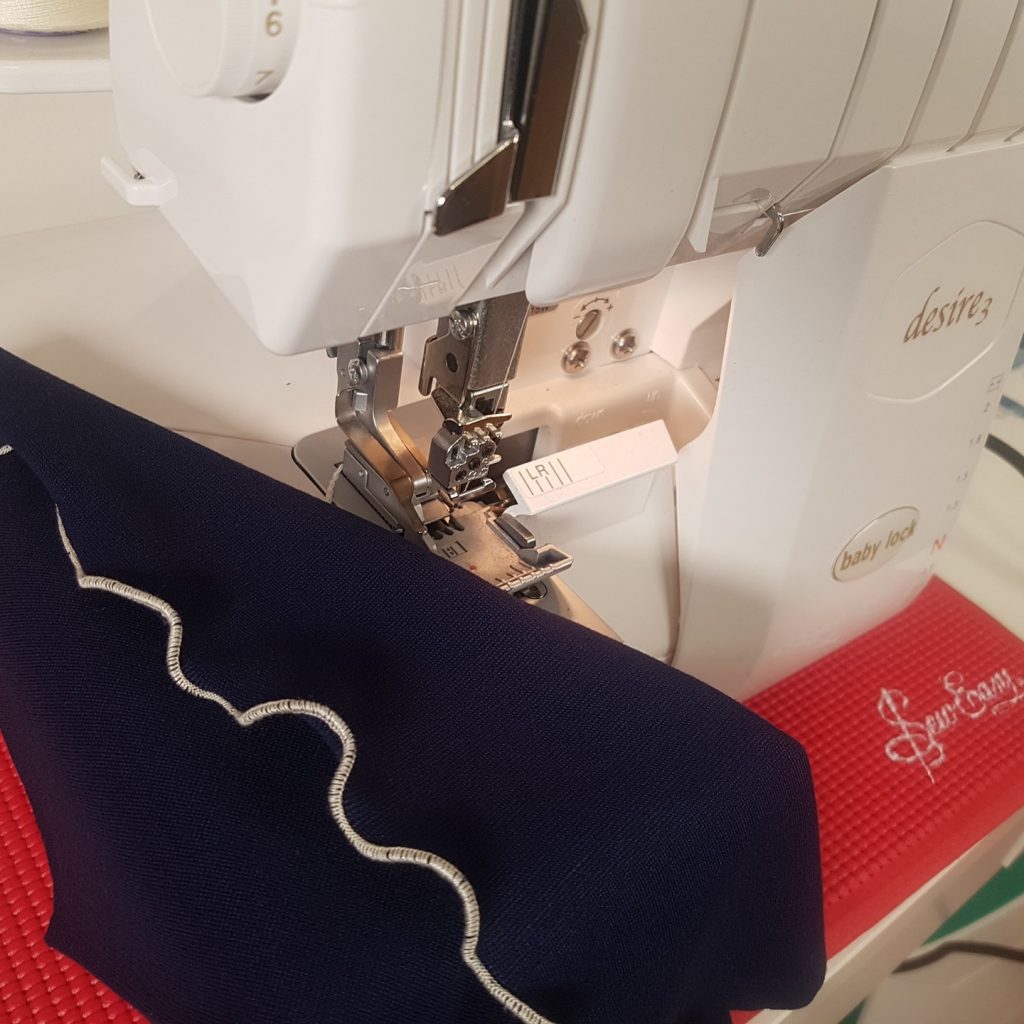
A lettuce edge is when you replicate the lovely frilly, wavy edge of a lettuce leaf on the edge of your fabric. It's a great way to add a bit of interesting sewing detail to necklines and sleeve hems on your handmade garments, or wherever you like to be frank!
To create a lettuce edge on your overlocker use the same set up as for the three thread overlocking stitch and adjust the differential feed down so that it stretches the fabric as it is sewn.
By adjusting the differential feed down the front feed dogs move slower than the rear feed dogs and this stretches the fabric as it is sewn.
Once you reach the end of the fabric, remove from your overlocker in the usual way and you will see the fabric is fluted. If you want to exaggerate the effect just gently stretch the fabric by pulling it and the edges will become even more wavy.
Turning Straps
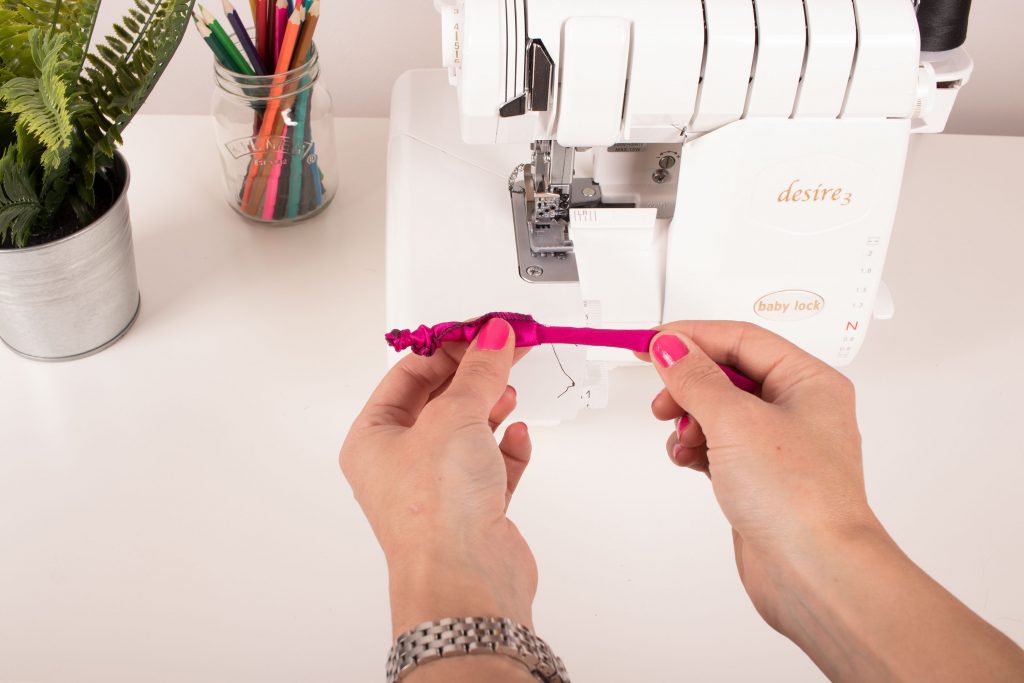
Turning straps through, especially narrow rouleau straps, can be time consuming and frustrating, unless you use this great overlocker tip.
Start by running a long chain of stitches off, longer than the length of your strap.
Place the chain of stitches down the centre of the length of the strap with the right side of the fabric facing up towards you and the end of the chain of stitches coming towards you and away from the machine.

Fold the fabric lengthways so the raw edges match and make sure the chain of stitches is positioned right in the middle.
Stitch the raw edges of the fabric together (lengthwise) taking care not to catch the chain of stitches in the centre. Stop and reposition as often as necessary.

Gently pull the end of the chain of thread to turn the strap through. Take care not to break the thread!
Hemming Technique
If you don't have a coverstitch machine, but don't like the results you get from a twin needle on your sewing machine, try this nifty overlocker tip for a fun way to hem those garments.
Start by pressing the hem up.
Engage the lock on your overlocker so the blade is disengaged.
Fold the hem back on itself.
Work from wrong side of fabric and position the fabric under the presser foot so that the overlocking stitches created by the right needle just catch the folded edge of the fabric as you stitch.
Fold the hem down and you will be left with a nice, neat row of overlocking stitches on the wrong side and a fun little band as the hem from the right side of the fabric. This would work particularly well on stretch fabrics on garments such as Tshirts and casual dresses.
For other overlocker hemming techniques check out our 'Hem Finishes on an Overlocker' article.
Even More Fun with your Overlocker
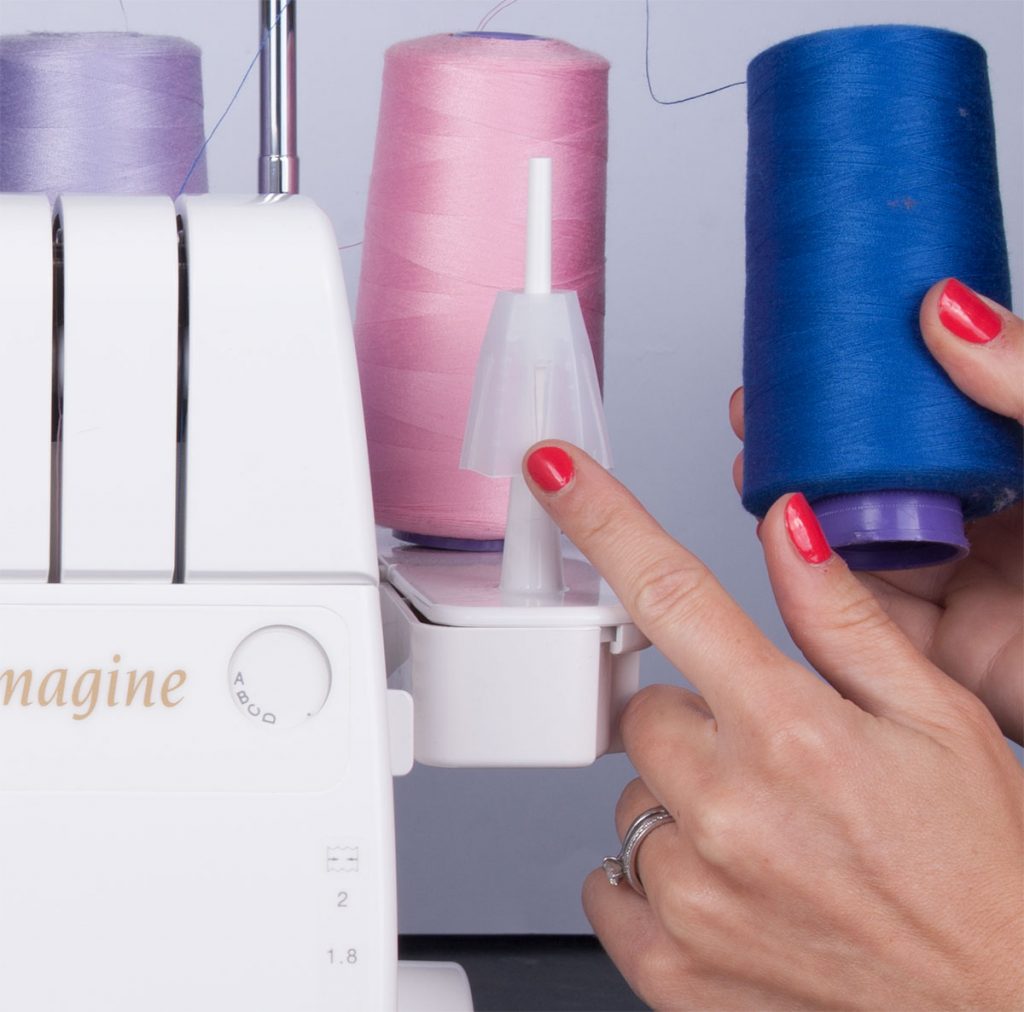
Just when you thought it wasn't possible to have any more fun with your overlocker, it is. Not only do we have more tips and techniques to share, which you can find right here on our blog and our YouTube channel, we also have an extensive range of accessories, feet and overlocker threads and flosses on available on our lovely website too.
Did you know you can use piping feet, feet for creating decorative effects such as adding pearls and sequins or lace and blind stitch feet with many overlockers? You can find our full range here.
You can also check out our great range of overlocking threads and flosses here.
Conclusion
We really hope you've enjoyed our fun tips to help you get creative and confident with your overlocker.
As with any sewing we always recommend having a go on scraps of fabric first before your real garment. This way you can build your confidence up, make mistakes and learn without any major consequences.
So much of sewing is about trial and error and having fun experimenting and we hope you feel encouraged to throw caution to the wind and have a go.
Have fun sewing!
Lucy
For more tips and tricks on how to make sewing easy you can follow our blog via Bloglovin and receive updates via email each time a new post is added.
Follow us on Facebook Twitter YouTube and Instagram for news, tutorials, special offers, sales and more.
