
Unpicking overlocker and coverstitch stitches isn't fun, but it's a lot easier and quicker if you know how. Having said that, no matter how many times I do it I always have to remind myself how to do it so I thought I'd write it down and share it with you lovely folk. Maybe that way it will stick?!
Unpicking Overlocker Stitches
The first thing to understand is the right side and the wrong side of the overlocking stitches.
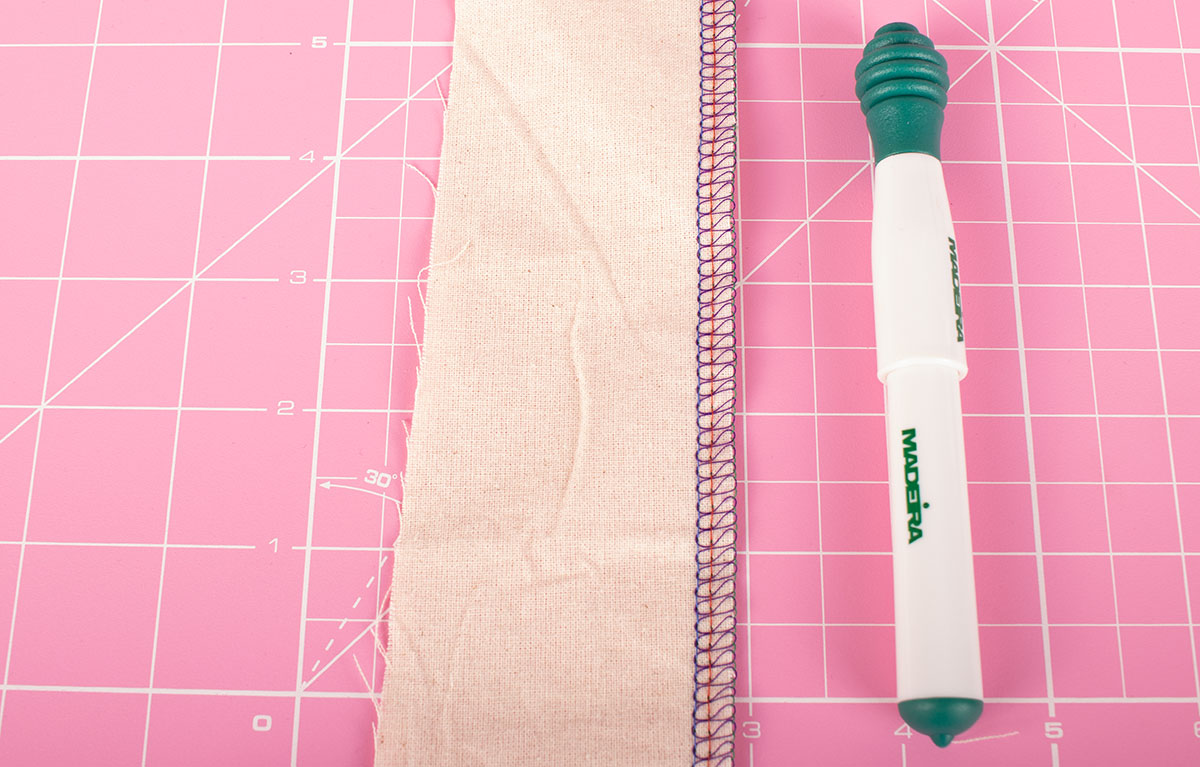
This is the right side - you can clearly see the two lines of parallel needle stitches running through the upper looper stitches. The rust thread is the right needle, the blue thread is the left needle. The purple thread is the upper looper thread.

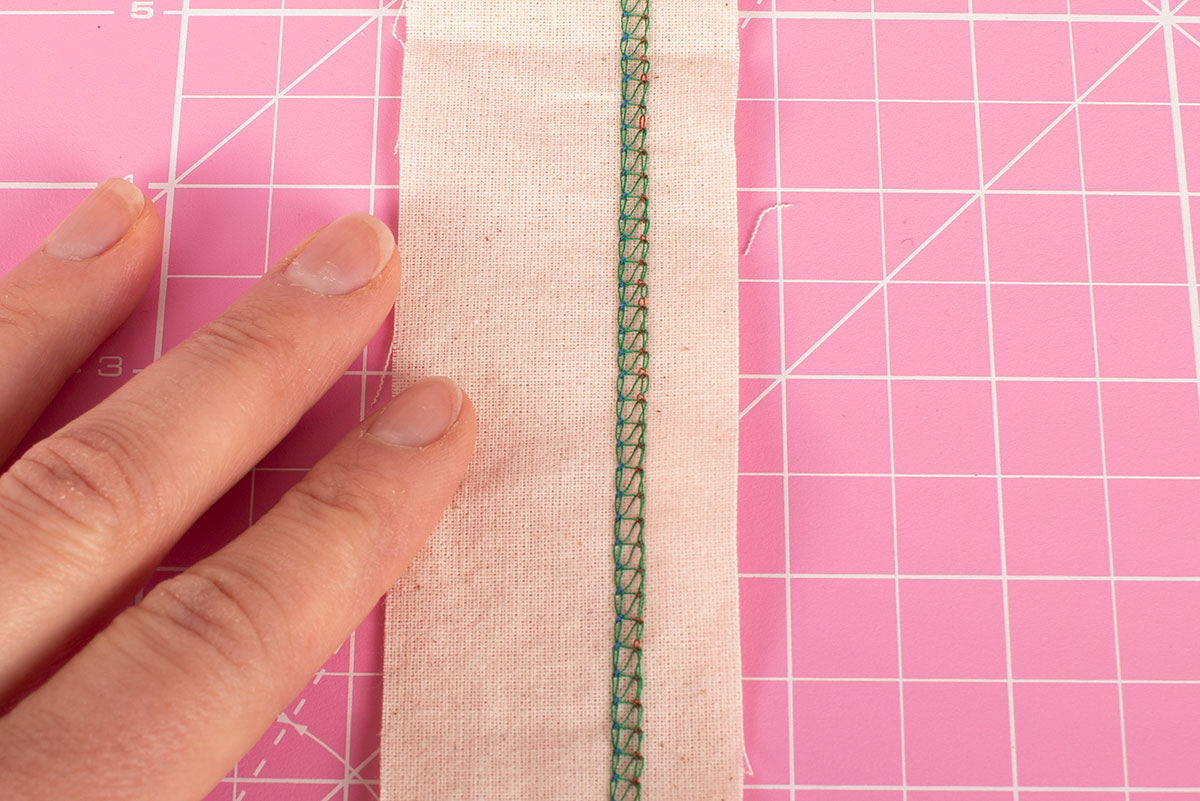
This is the wrong side - the lower looper stitches are visible (in green), but it is difficult to identify the needle stitches.

I used different coloured threads to make everything nice and clear in this blog post, but it is also worth mentioning that this is a great way to identify tension issues too.
If you thread your overlocker in four different colours then stitch out on some scraps of fabric you will be able to identify where any tension issues lie more easily and be able to work out which ones to correct.
Three Thread Overlocker Stitch
In a three thread overlocker stitch there is a needle thread (blue), an upper looper thread (purple) and a lower looper thread (green).

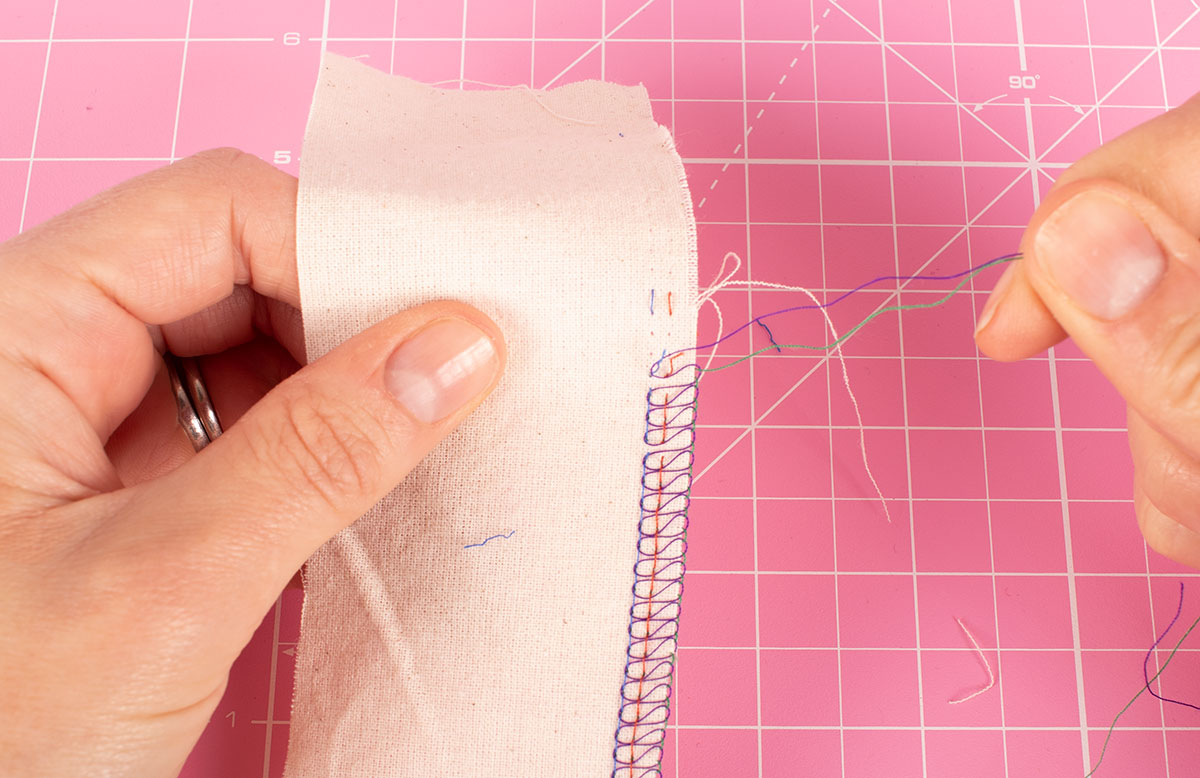
Lie the stitches right side up and unpick approximately* every third stitch.

Gently pull the upper and lower looper threads to unravel.

*I say approximately because in all honesty I sometimes unpick less than this and it still works. If you are a little slack like me you might just find the unravelling stops occasionally and then you just need to unpick the next needle stitch to start it up again. I'm so naughty and impatient I know, but life is short!
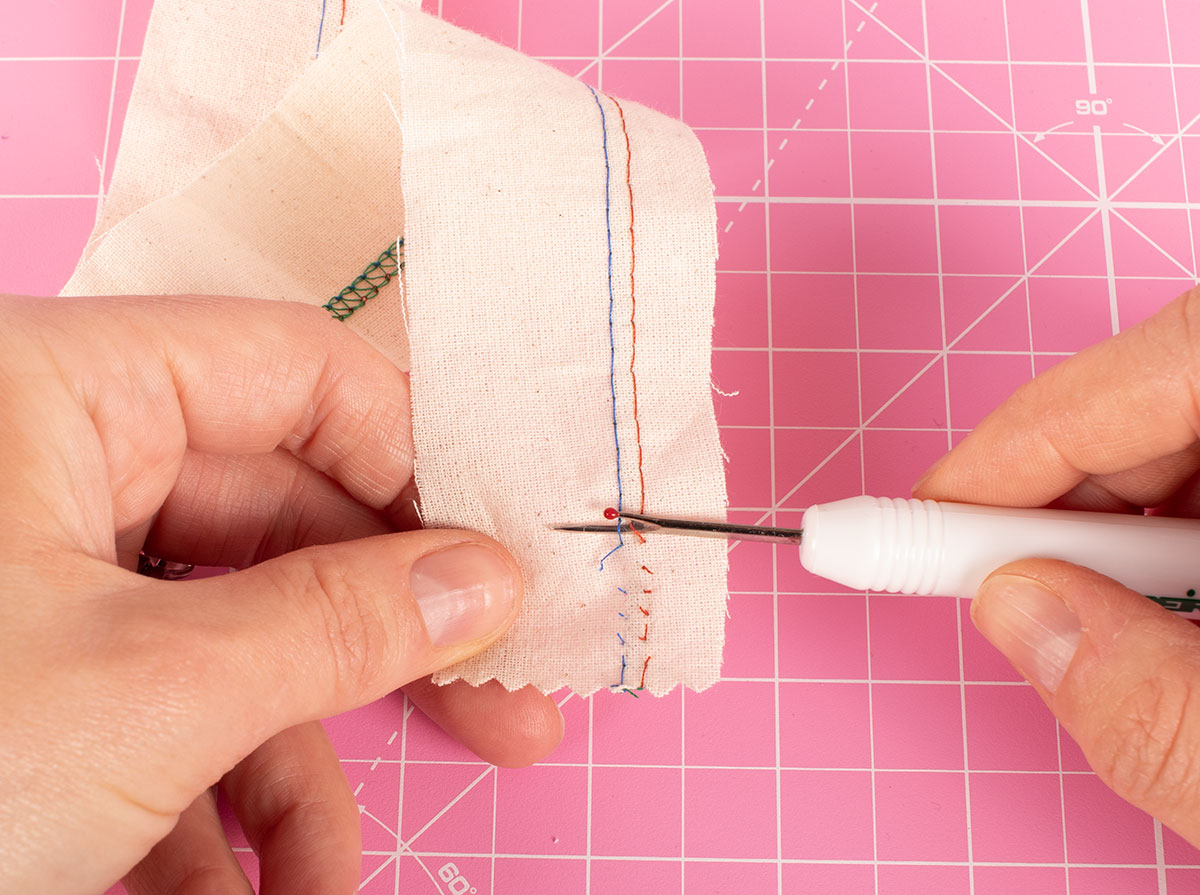
Four Thread Overlocker Stitch
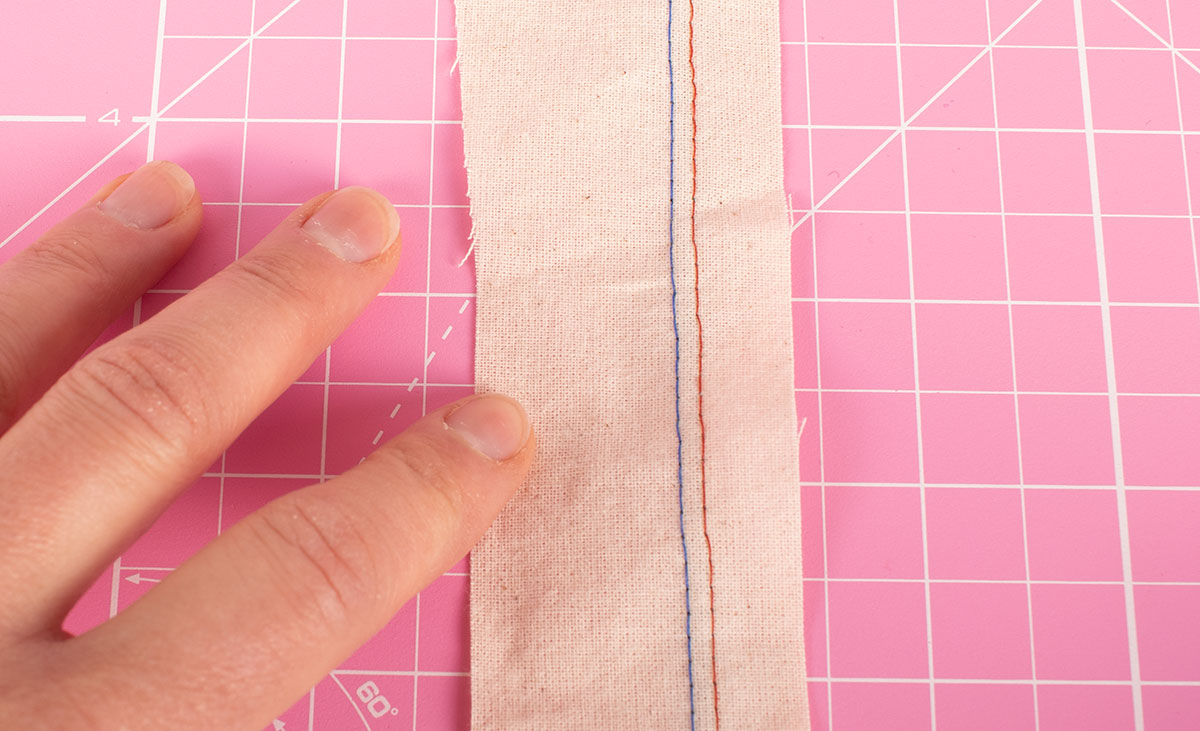
For a four thread overlocking stitch there are two needle threads (blue and rust), an upper looper thread (purple) and a lower looper thread (green).
As for a three thread overlocker stitch lie your fabric with the right side up so you can see the needle threads clearly.
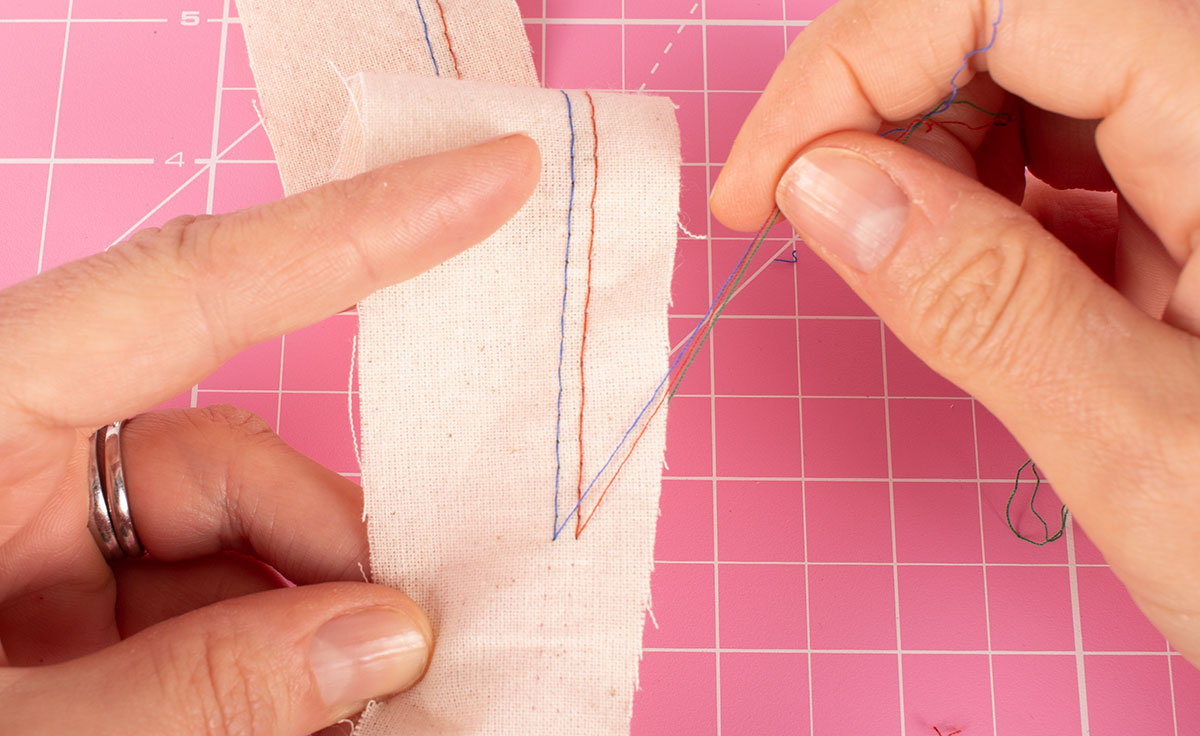
Unpick every third stitch.

Gently pull the upper and lower looper threads to unravel.
As above you can be a little lazier with it, but it might not unravel in one complete turn, which is slightly less satisfying!
Unpicking a Coverstitch
The right side of a coverstitch has a two lines of parallel stitches (rust and blue).
The wrong side has a loop stitch effect similar to that of overlocker stitches (green).
To unpick a coverstitch work with the fabric the right side up and unpick a few stitches, enough to give you a length of thread you can hold onto.
Next work out which direction the stitches were originally sewn in. The shorter width of fabric would have been on the right hand side with the stitches being sewn towards you.
To unravel the stitches pull the looper thread (and needle threads if necessary) towards the back of the stitches.
In other words if the shorter edge of the fabric is on your right as you look down at it, pull the threads away from you.
Removing Stray Threads
Following these methods it isn't all that bad unpicking those stitches now is it?! The only slight nuisance is that you may be left with some stray threads to remove.
To be honest they come out pretty easily, but if you want to get this unpicking malarkey over and done with quick sharp you could use a Madeira Seam Fix Stitch Ripper which has innovative little thread removers on either end. You just drag them across the stray threads and it picks them up like magic.

It is also worth mentioning we sell a wide range of overlocker and coverstitch machines here and just love to talk about them. If you're looking to buy one and need any help or advice just give us a call or drop us an email.
We also stock a wide range of overlocker accessories here and overlocker threads here if you need to top up your supplies.
You can find our top tips for sewing with an overlocker here and here and hemming tips here.
Hopefully next time you make a mistake with your coverstitch or overlocker machine your heart won't sink with dread safe in the knowledge that there is a quick and easy way to unpick those stitches.
Have fun sewing!
Lucy
For more tips and tricks on how to make sewing easy you can follow our blog via Bloglovin and receive updates via email each time a new post is added.
Follow us on Facebook Twitter YouTube and Instagram for news, tutorials, special offers, sales and more.