
Bias binding is a quick, easy and neat way to finish raw edges in areas such as necklines, armholes or sleeves. In this article we share five (yes five) ways you can finish a raw edge with a binding depending on your preference.
Bias Binding General Pointers
Some of these methods might be classed as unconventional, but we are simply aiming to share ideas. Ultimately it is your sewing project and you can choose whichever method you prefer. You might like the quickest easiest method or prefer a certain look.
My preference is method one because it is quick, neat and less bulky than some of the other options, but others might hate it! Life is short, choose the binding method you like!
For some of the examples I made my own binding from a matching fabric and you can find a tutorial to do this here. This also shows you how to join the two ends of the binding to create a loop the same size as your armhole/neckline.

Bear in mind you can choose the width of binding you prefer. Have a play around and choose what you like. Also member you will alter the neckline/armhole if you veer away from the suggested seam allowance on your pattern and need to take this into account.
For some of the examples I used ready made bias binding and you can find our full range here.
To join the ends when using ready made binding, pin it in place around your armhole/neckline first and place a pin where the two ends meet. Open out the binding at this point and sew the ends together where your pin was placed. Trim the ends then press the seam open.

I haven't mentioned grading the seam where you attach the binding in all examples. Whether you choose to do this will depend on the fabric you are using and also the finished look you are aiming for. You might want to leave the seam allowances intact for some structure. On the other hand you might find there is too much bulk making the task at hand tricky or look messy and decide to grade.
Finally, if all the sewing and pinning causes your armhole/neckline to stretch out of shape, give it some steam to shrink it back!
Bias Binding a Neckline Method One - Visible Binding stitch in the Ditch
Pros and Cons
The advantage of this method is that there will be a pretty binding finishing the edges of your garment, but no visible stitching.
The disadvantage is that it can be tricky to stitch in the ditch accurately, especially for a beginner. It is also important to make sure your binding is wide enough for the stitching in the ditch to catch the overlocked edge on the inside.
You can use a stitch in the ditch foot with your machine to help with this task. You can find all of our sewing machine presser feet here. Always remember to check the compatibility charts for your machine.
How to Guide
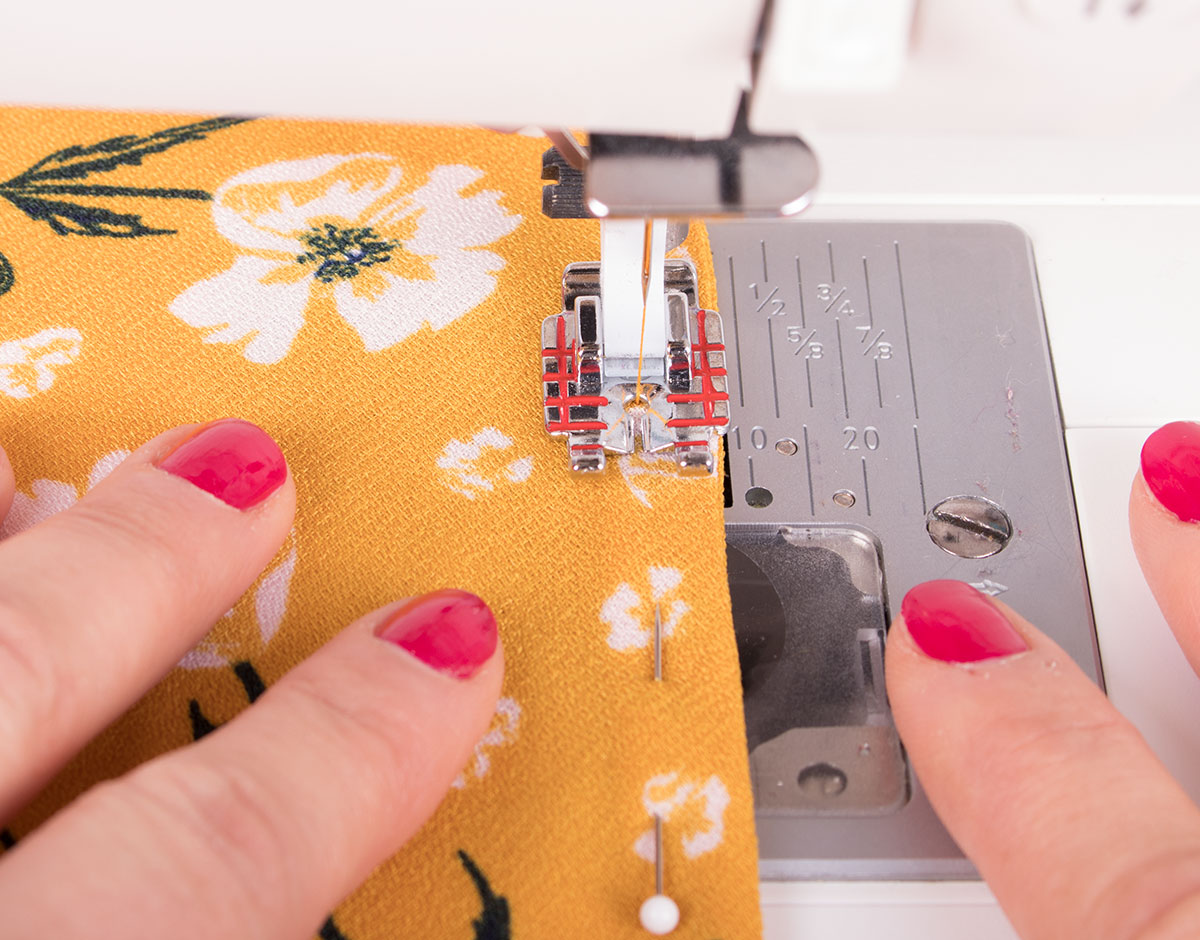
- Line the raw edge of your binding up with the raw edge of your neckline, right sides together.
- Pin in place slightly stretching the bias binding as you pin. This will pull the neckline in nice and tight preventing sagging!

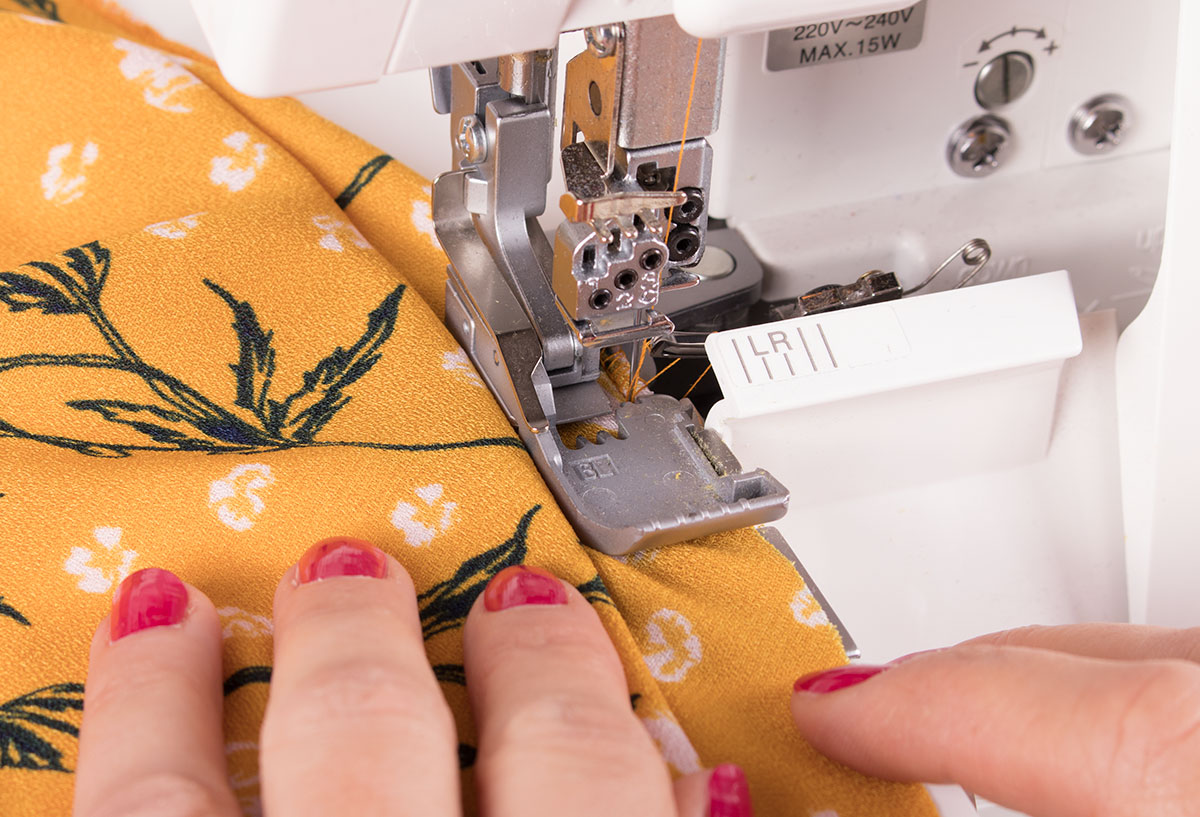
- Sew the binding in place.

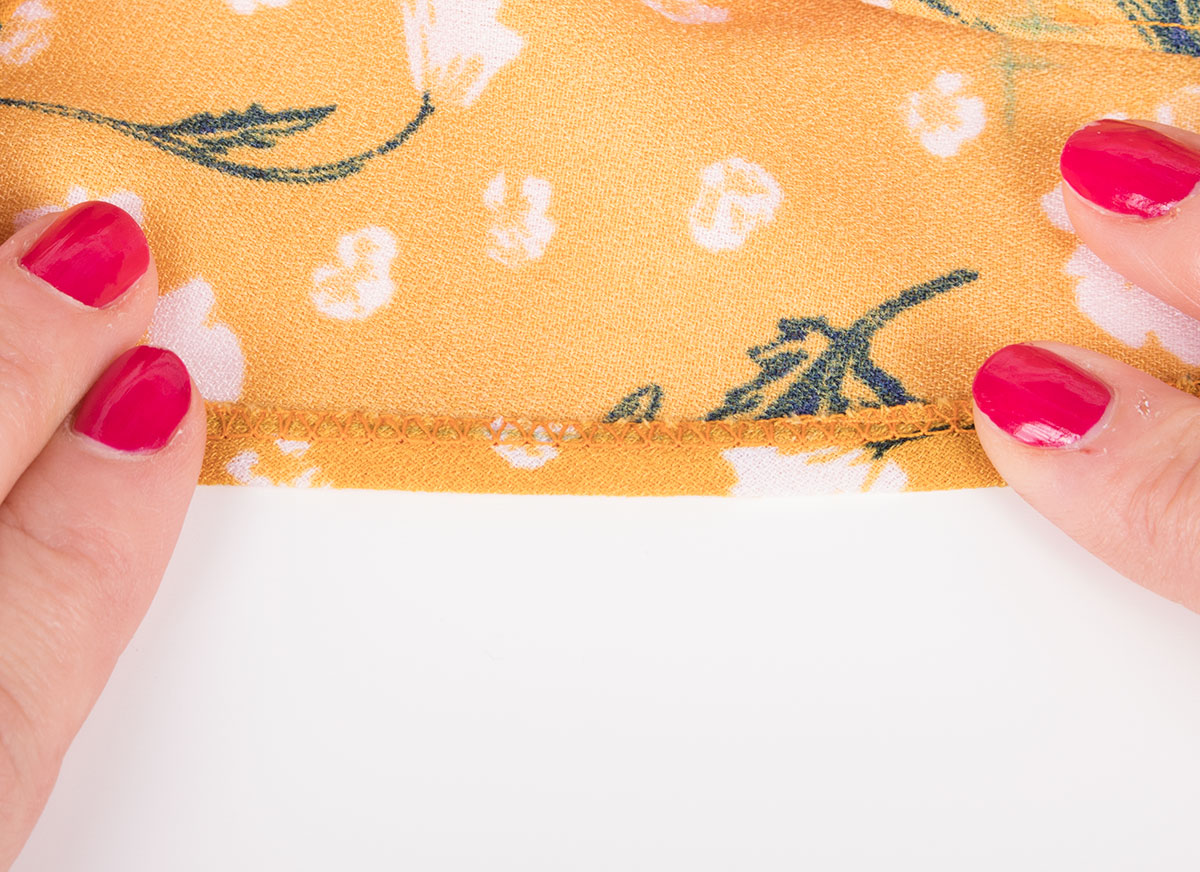
- Overlock the remaining raw edge of the binding using a narrow three thread overlocking stitch.
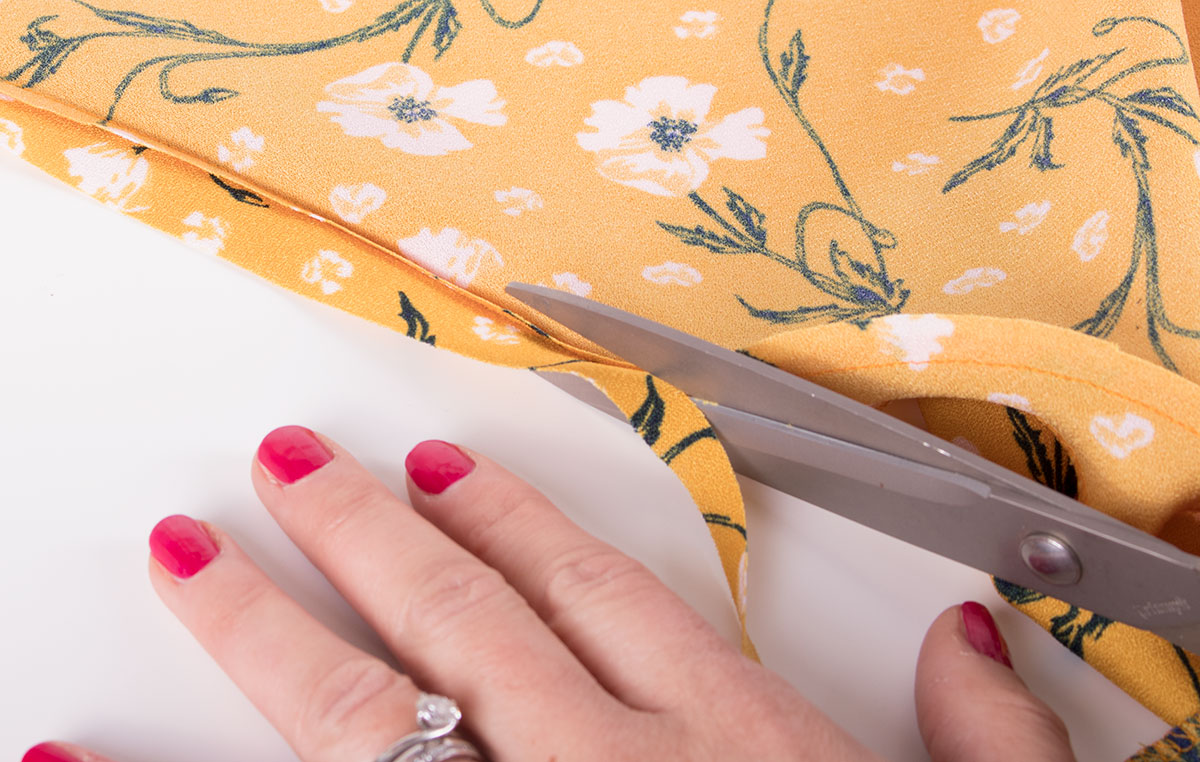
- Grade the seam allowances (NB general points above in relation to this step)
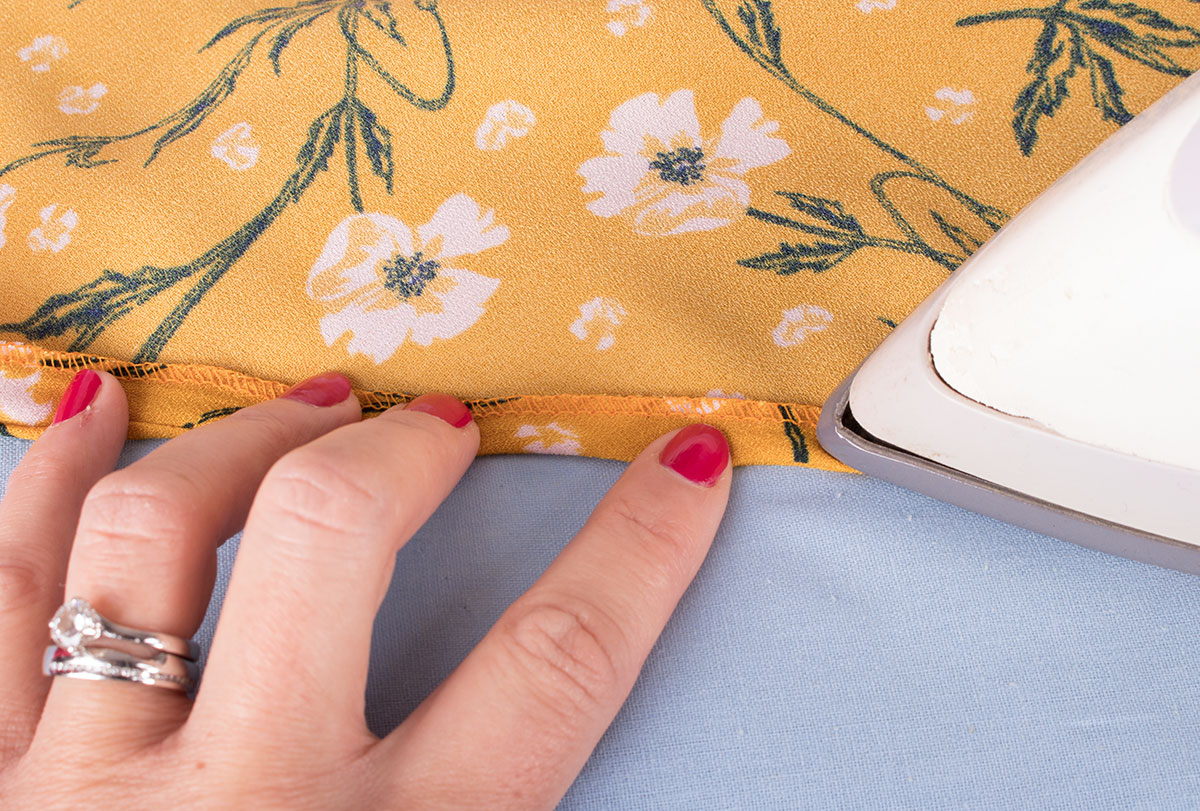
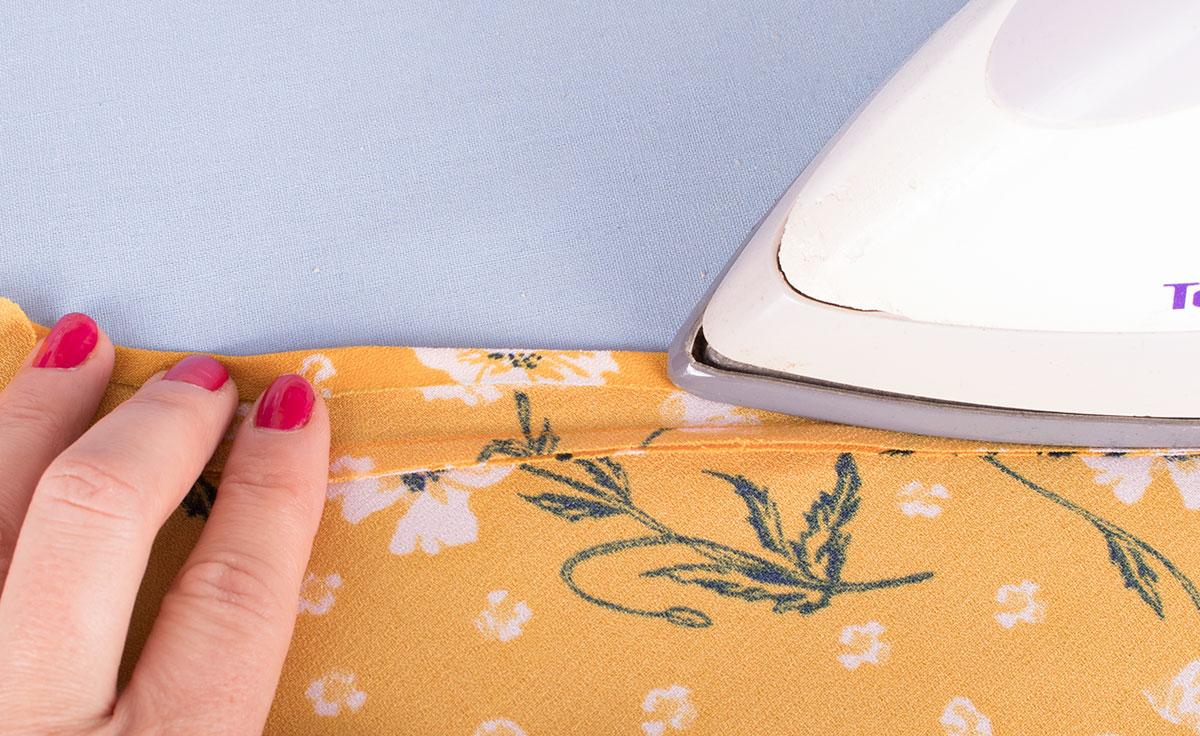
- Press the binding away from the garment from the right side.
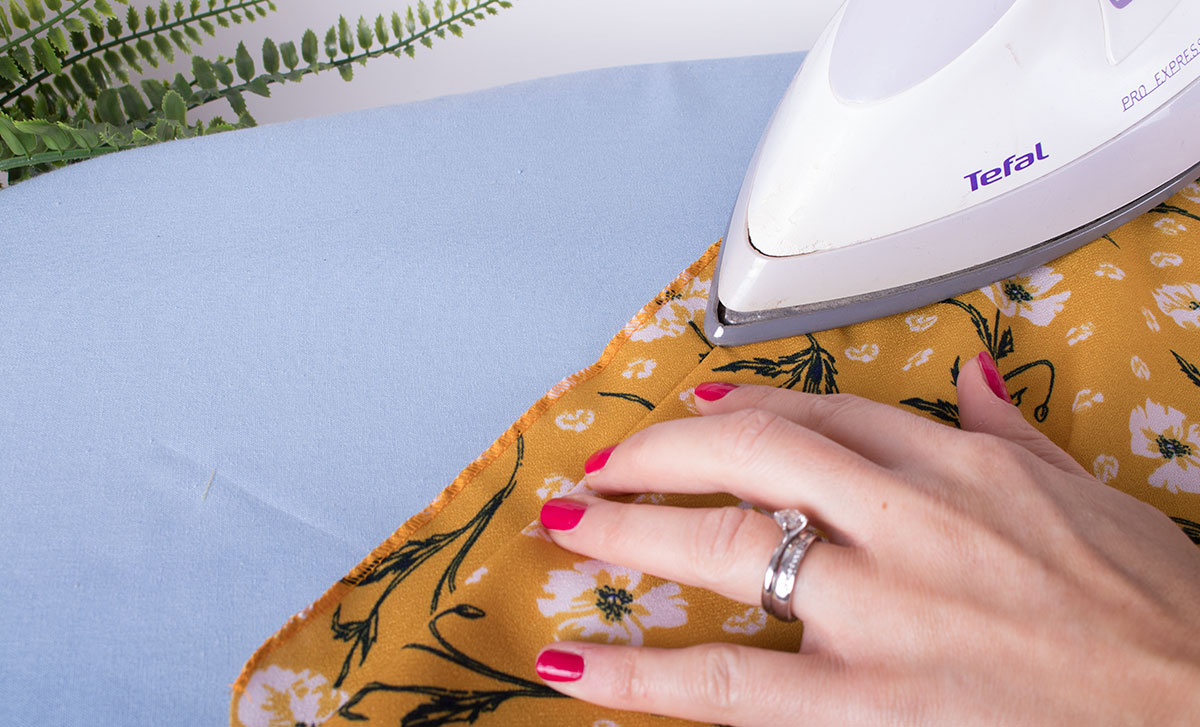
- Fold the binding over the seam allowance and press in place leaving 1/4" of binding visible from the right side of the garment (or whatever your preference is).
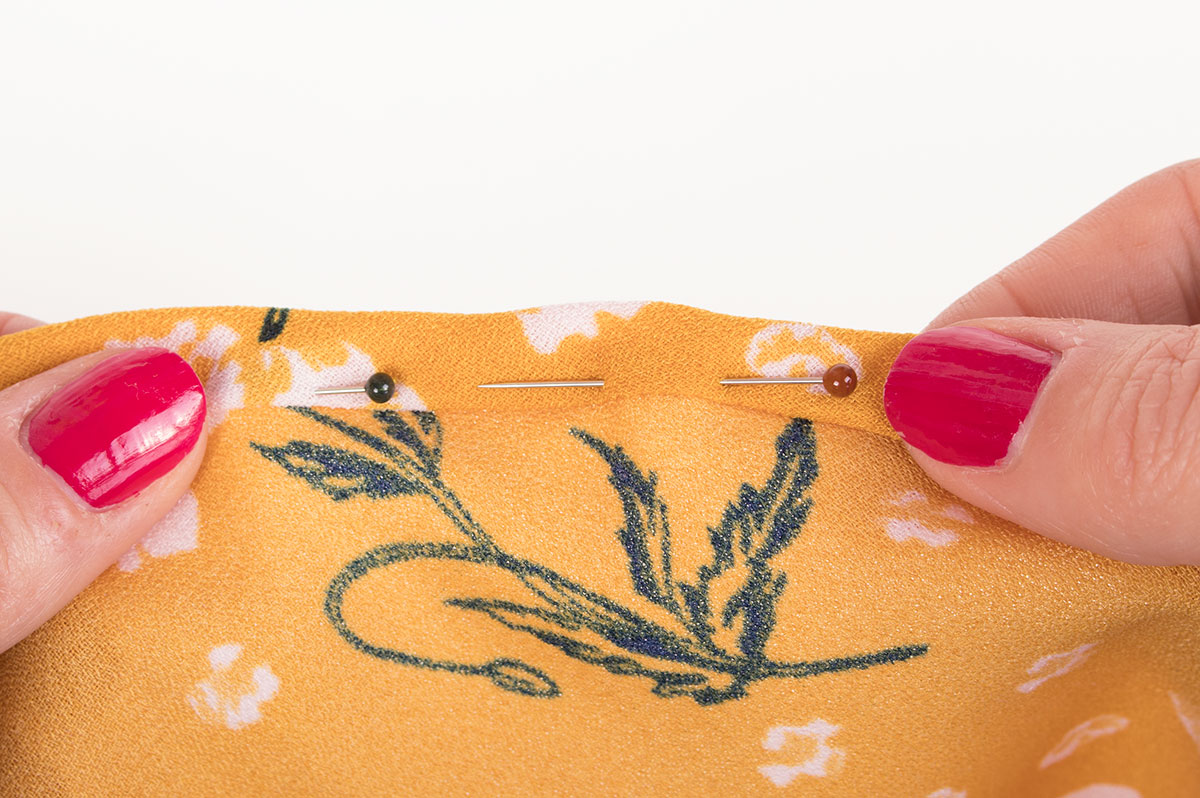
- Pin in place making sure the overlocked edge covers the seamline.
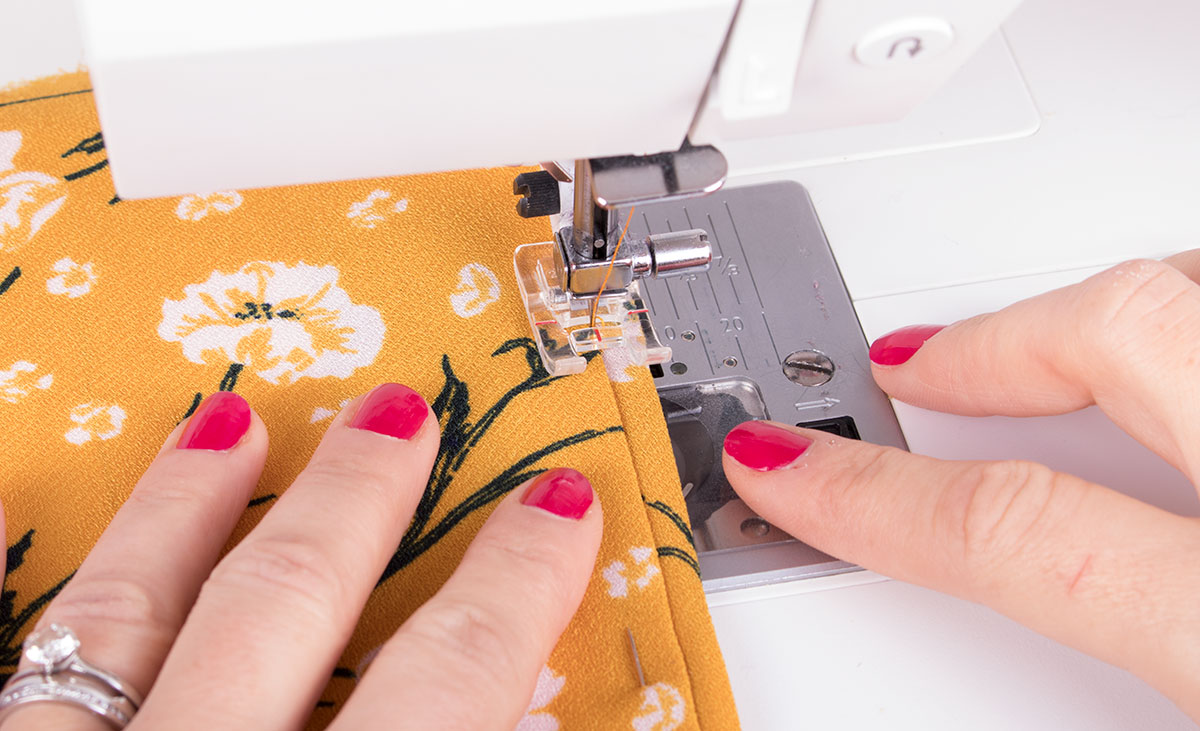
- Stitch in the ditch to secure the binding.
- Press.
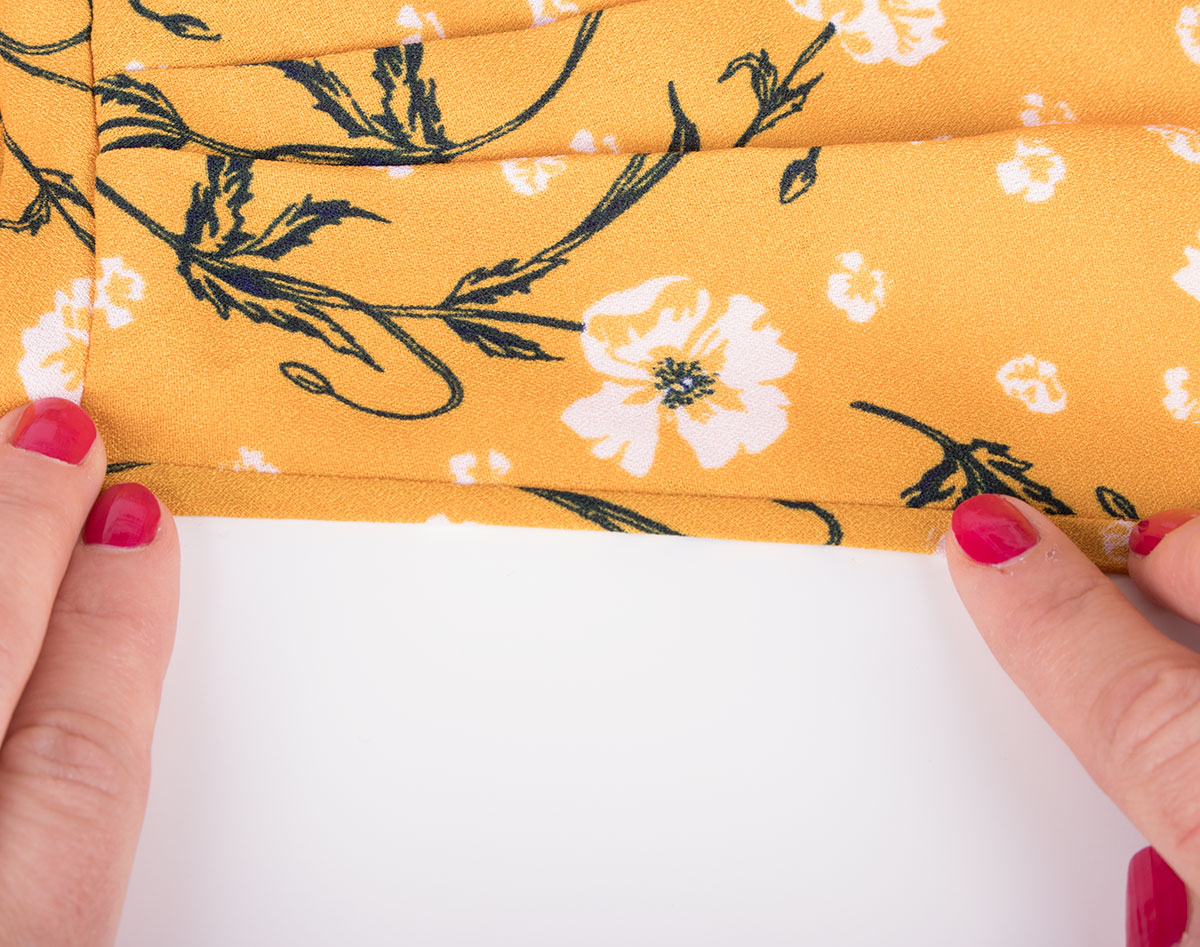
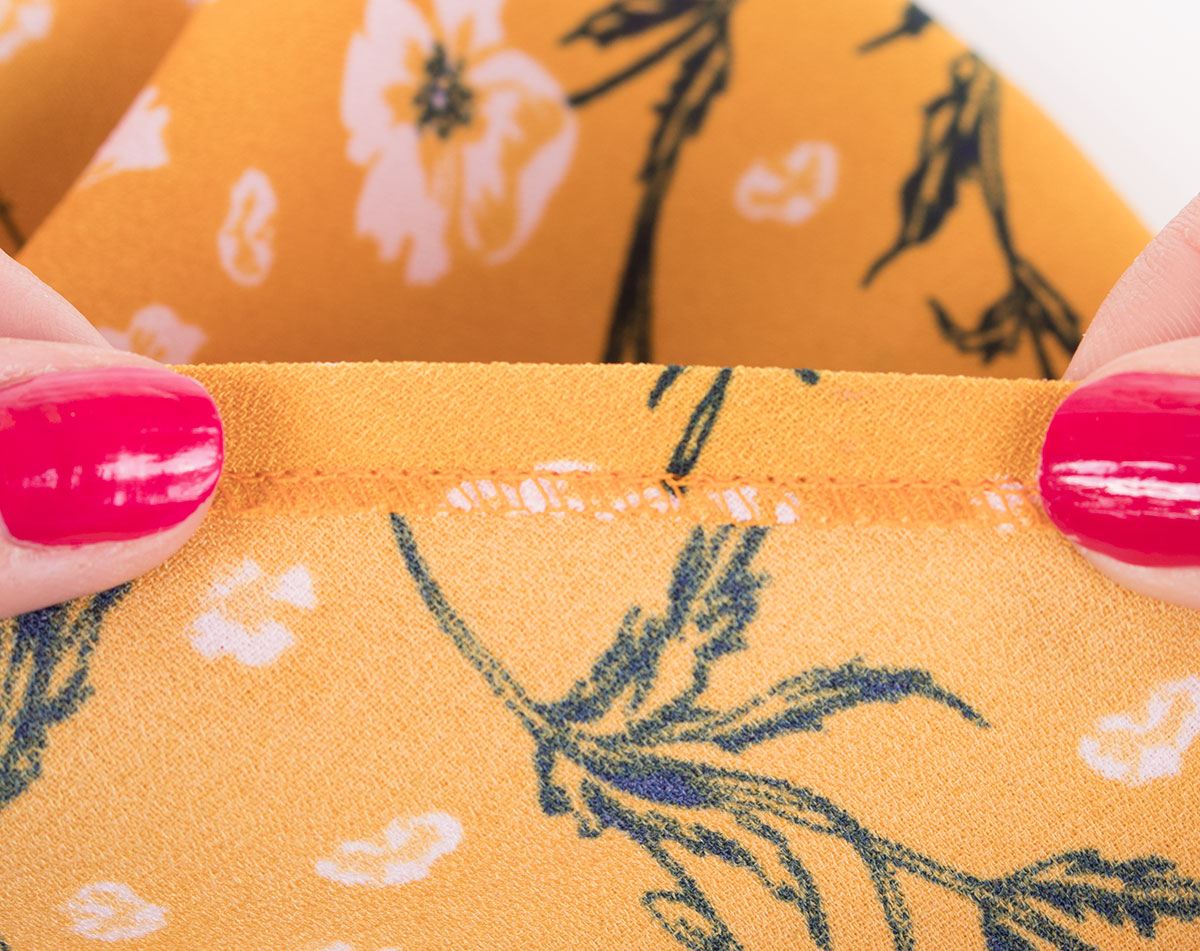
Here is the right side:
And here is the wrong side:
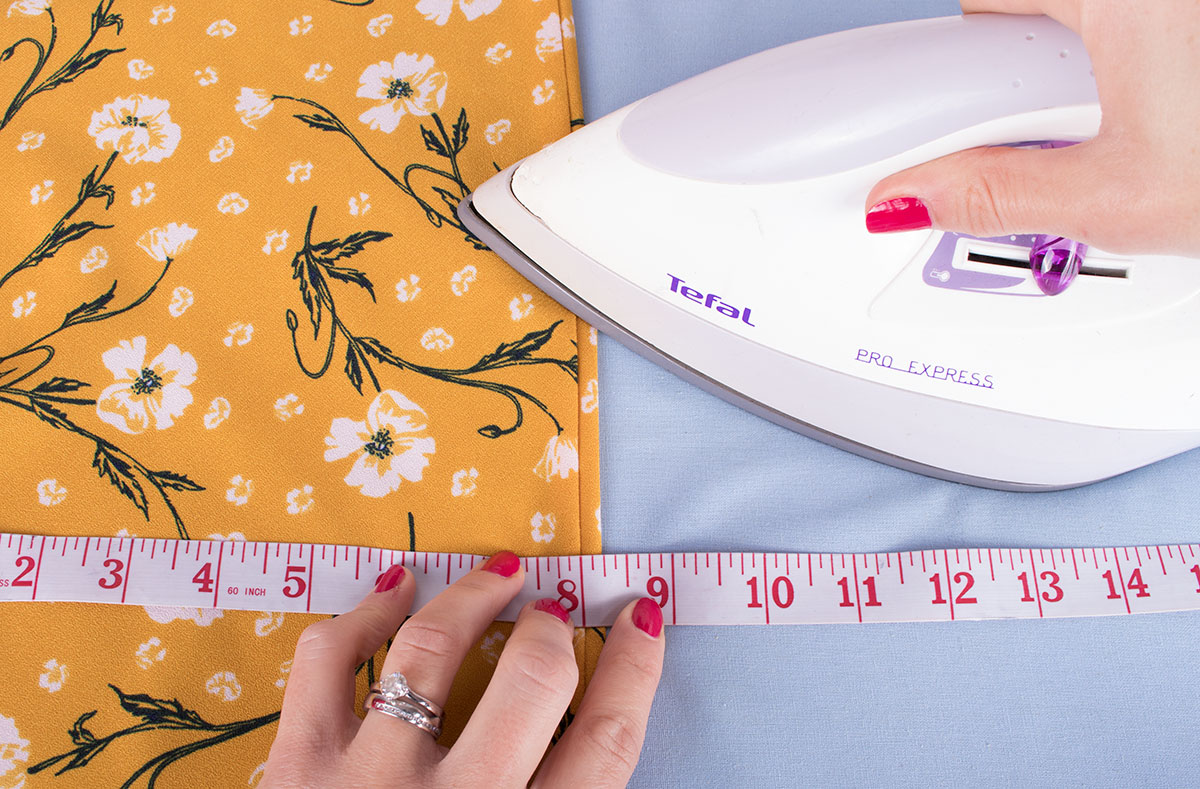
Measurements Example
If you used a 1 and 1/2" wide binding you would be able to have 1/4" binding visible on the garment if using a 5/8" seam to sew the binding to the neckline initially. This would allow 1/4" of the binding to be visible from the right side of the garment and the remaining 5/8" to be folded over and secured on the inside.
Bias Binding a Neckline Method Two - Binding Not Visible Top Stitched
Pros and Cons
This is a quick and easy method, which requires less precision than stitching in the ditch. You won't have a visible binding on the garment, but will have visible stitching therefore it is still important to try and stitch neatly and evenly.
How to Guide
- Follow steps 1 - 6 above.
- Fold the binding completely to the inside of the garment and press and pin in place from the right side of the garment.
- Top stitch in place from the right side.
- Press.
Here's the right side:

And the wrong side:
Measurements Example
If you used a 1" wide binding this would allow you to sew a 5/8" seam to attach the binding initially leaving 3/8" to overlock and press to the inside of the garment. This would be enough for a 1/4" top stitching to catch the binding and secure it.
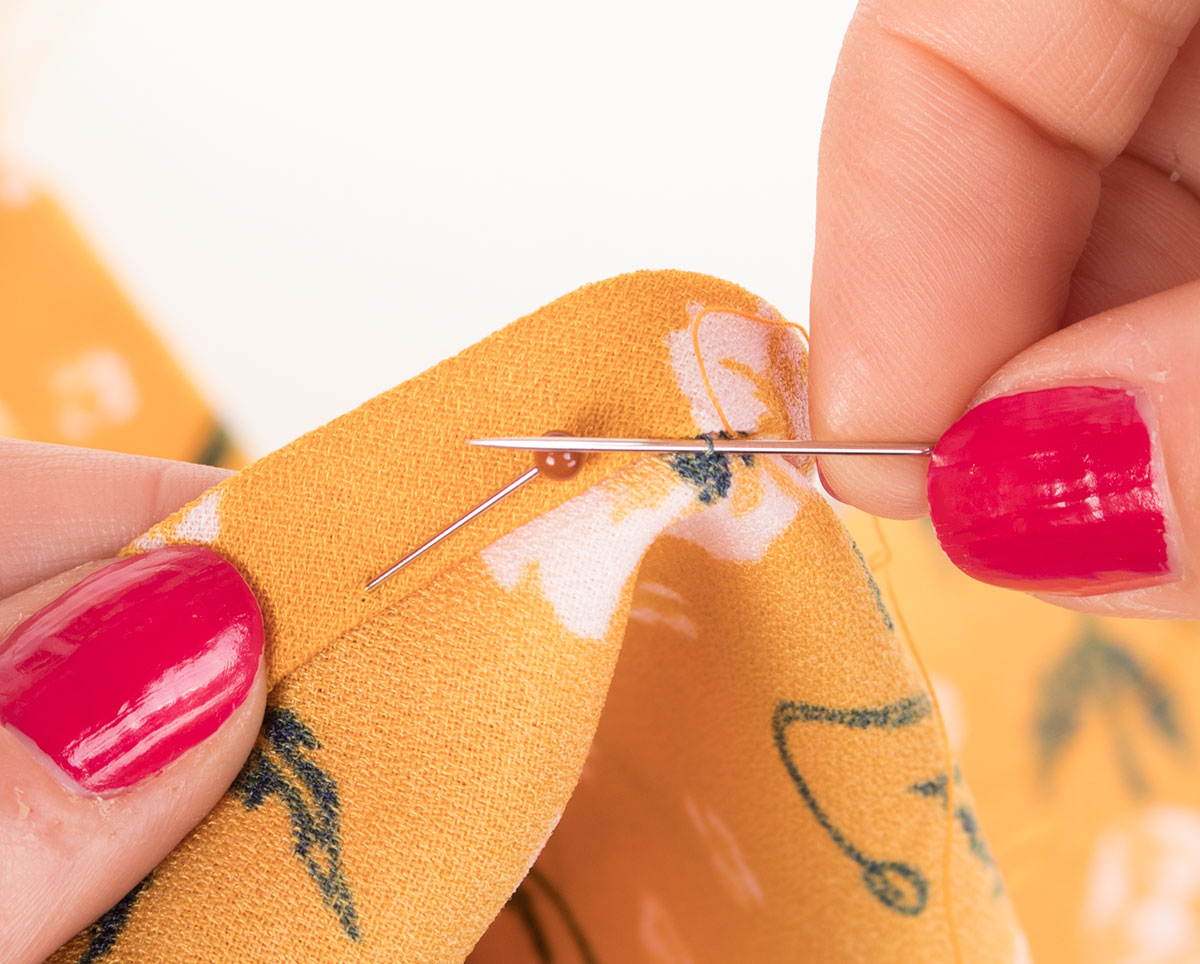
Bias Binding a Neckline Method Three - Visible Binding Slip Stitch
Pros and Cons
This method will give you a visible binding, but can be a little fiddly and time consuming. You don't need an overlocker for this method, but may also need to grade your seams to reduce bulk depending on your fabric. It is a good opportunity to practice some hand sewing. Bear in mind your stitches could end up visible from the right side if you aren't a confident slip stitcher. Take care to just catch a single thread from the main garment fabric. Find a tutorial on slip stitching here.
How to Guide
- Follow steps 1 - 3 for method one.
- Press the binding away from the garment from the right side.
- Press the raw edge of the binding under your chosen amount.
- Pin in place making sure the folded edge of the binding covers the seamline.
- Slip stitch in place.
- Press.
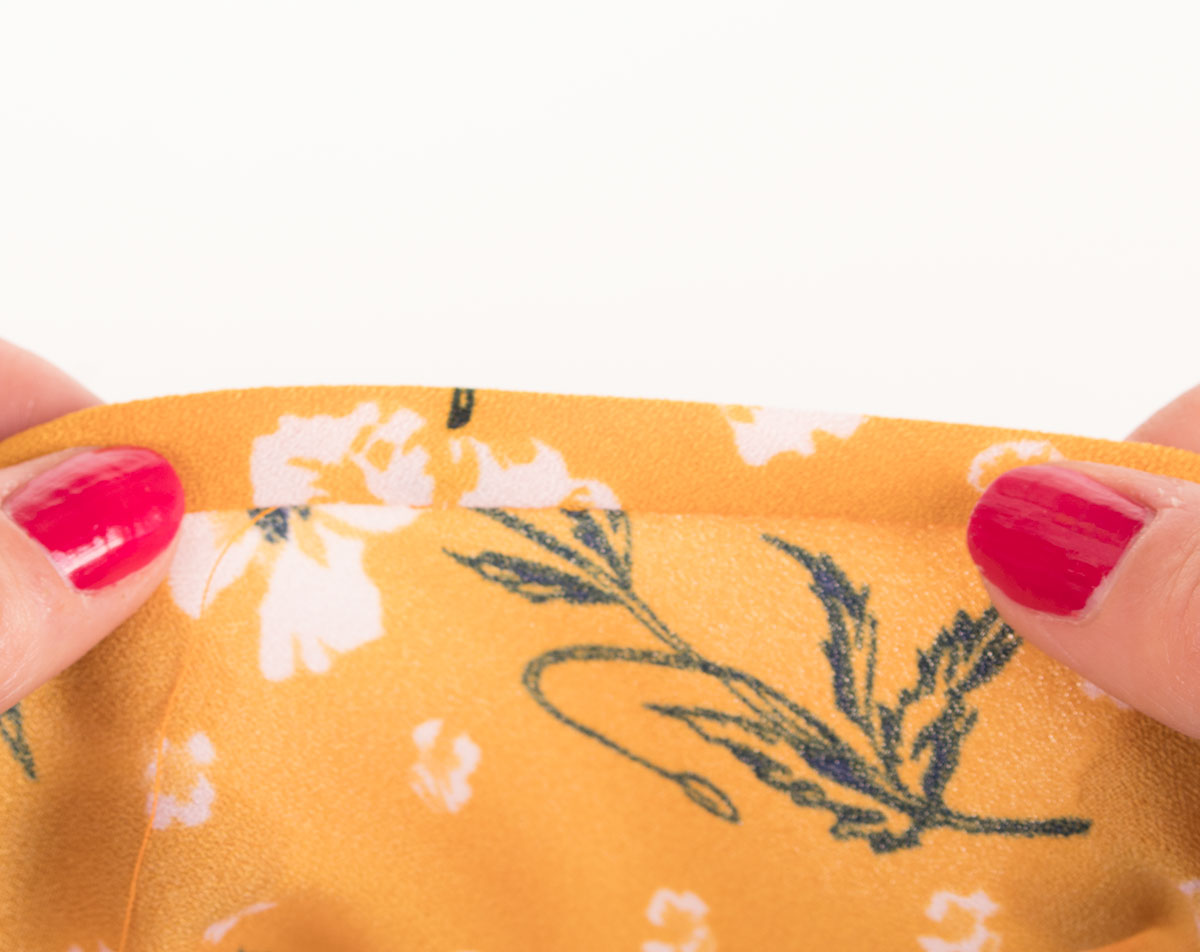
Here is the right side:

And here is the wrong side:
Measurements Example
If you used a 1 and 1/4" binding this would allow you to sew a 1/4" seam to attach the binding initially and have 1/4" visible from the right side of the garment. You would be able to press the remaining raw edge of the binding under 1/4" before slip stitching in place. You could also use ready made bias binding, which will work well for this method.
Bias Binding a Neckline Method Four - Binding Not Visible Top Stitched
Pros and Cons
This method works better with ready made bias binding because it is easier to follow the folds pressed into the binding to ensure accuracy. You won't have a visible binding, but will have visible stitching so it is important to stitch neatly and evenly.
How to Guide
- Follow steps 1 - 3 for method one. If using ready made bias binding press one side open and stitch in the crease where the binding was folded.

- Press the binding away from the garment.
- Fold the binding inside the garment, press in place and pin. The folded edge of the binding should be encasing all raw edges and stitching lines
- Edgestitch along the edge of the binding from inside the garment.
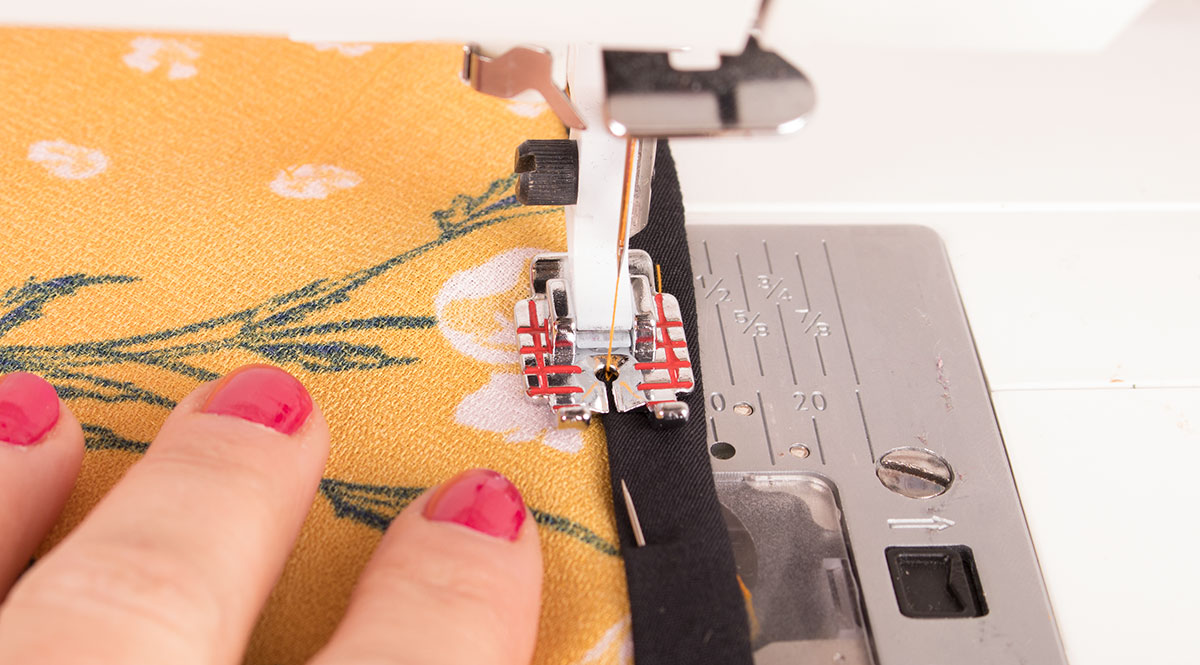
- Press.
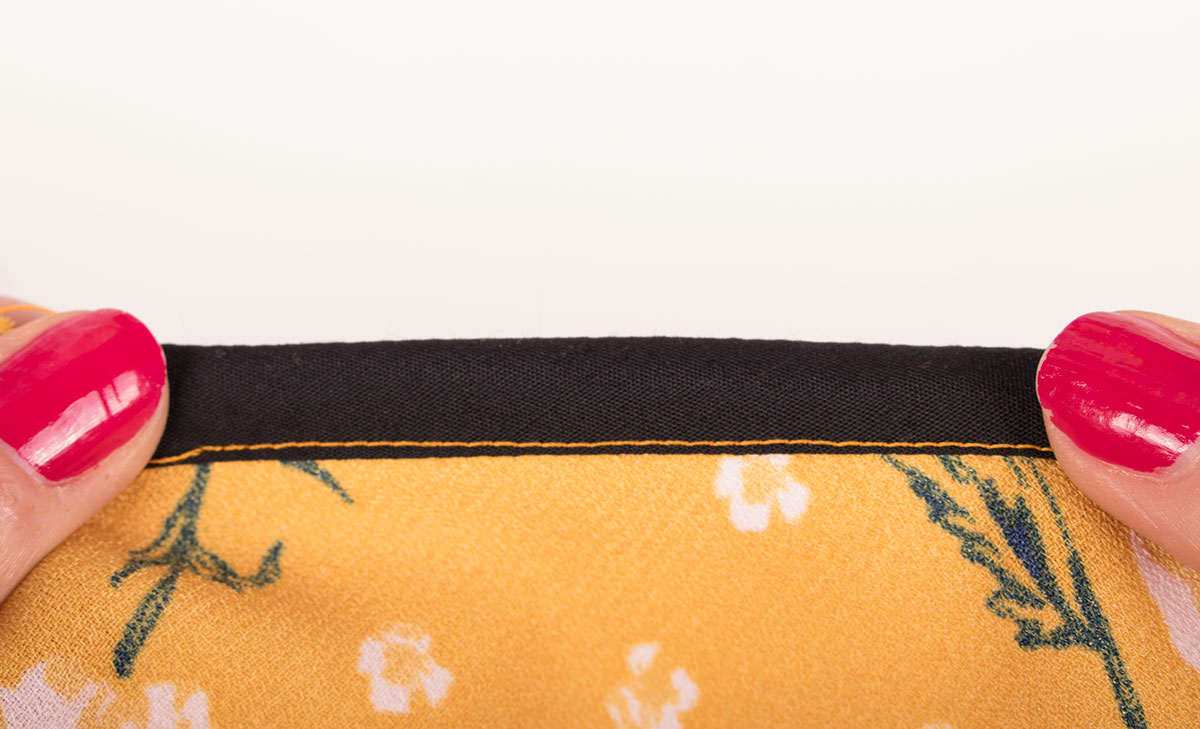
Here is the right side:

And the wrong side:
Measurements Example
For this example I used a ready made 1/2" bias binding.
Bias Binding a Neckline Method Five - Binding Not Visible Slip Stitched
Pros and Cons
You won't have a visible binding for this method and also won't have visible stitching, however, it is more time consuming.
How to Guide
- Follow steps 1 - 3 above and instead of stitching along the edge of the binding, slip stitch in place.
- Press.
Measurements Example
As above you could use a ready made 1/2" bias binding for this example.
Shopping List
- Bias binding
- Rotary Cutters
- Cutting Boards
- Sewing machine feet (seam guide feet, 1/4" feet and stitch in the ditch feet can be useful for these techniques)
Phew that was a big one! I do like to think we offer very comprehensive guides with lots of ideas and food for thought though. I hope you enjoyed it.
Have fun sewing!
Lucy and Angela
For more tips and tricks on how to make sewing easy you can follow our blog via Bloglovin and receive updates via email each time a new post is added.
Follow us on Facebook Twitter and Instagram for news, tutorials, special offers, sales and more.