
I tried this New Look pattern following my first foray into sewing and dressmaking last year when I made another summer skirt using a Burda pattern and some pretty cotton fabric. I chose our very pretty John Kaldor ditsy cotton fabric in blue and yellow and was full of enthusiasm, but short on time with Alex still a babe in arms and Toby not having started school yet. As a result I cut the pattern out and pinned it to the fabric then it lived in the dining room side board (AKA my sewing store room) for about a year!
After completing the Orla blouse and Rae skirt unsupervised I thought it was high time I brought this unfinished, well not even properly started, project to life! I remember having some trouble working out which size I would be and when I looked at the cut pattern pieces there was a size 12 pattern piece pinned to the fabric and also a size 10 pattern piece?! Confusing! I hadn't cut right up to the pattern piece for the size 10 and had left a border of fabric big enough to cut a size 12 so this is what I did. Not a great start, but I thought it would probably work out ok...

It was the first time I had attempted a New Look pattern and I found the instructions nice and easy to follow thanks to the basic sewing knowledge I've built up over my last few projects. It was fun making the 70s style pockets, which I think are a really cute feature, and the whole design was really pretty simple.

The fitting wasn't so easy, but it was an enjoyable challenge to have a pattern that didn't fit perfectly first time and to attempt to alter it myself. Having sewn the side and back seams on the skirt I realised it was too big and took a good inch of either side of the back seam to take it in.
Next on the agenda was the waistband and this took a few attempts fitting wise probably more due to my lack of experience than anything else. I cut a size 12, made it up using our iron on interfacing then realised I couldn't even get it to meet at my waist! I detached the two back waistband pieces and made them slightly bigger this time then attached the new improved waistband to the skirt using a stitch in the ditch.

When I tried the whole thing on it was very clear that the adjustments I'd made to the skirt hadn't taken account of the waistband and where the main skirt would actually sit. As a result the skirt was pulling up at the back because it was too tight. The waistband did meet this time, but whether I would be able to breathe whilst wearing it was another matter! I was starting to wonder if this was going to be my first write off project. Time to call in the cavalry...

I reduced the darts to create extra room in the skirt and made the back waistband pieces a third time adding plenty of extra fabric then trimming it down to fit. I wasn't very pleased with the original darts anyway and knew they were going to annoy me so it was a good excuse to unpick them and make them perfect this time.
I made all of the adjustments as above and tried it for size before adding an invisible zip following the invisible zip tutorial I wrote for the Sew Essential blog some time ago.
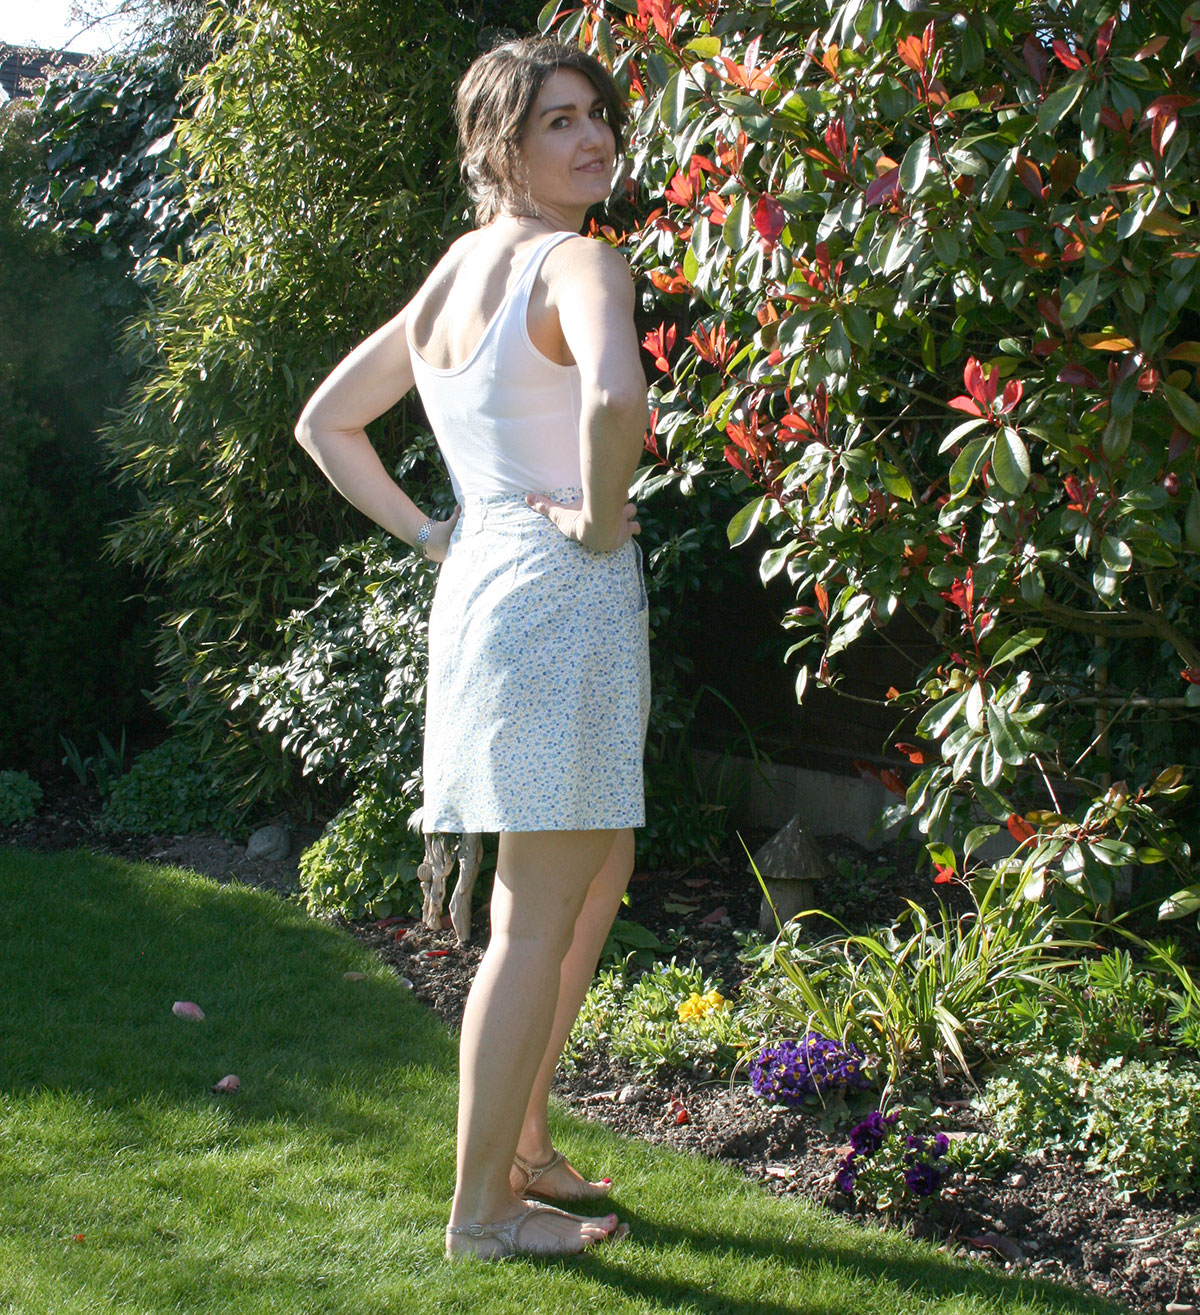
Once completed I was actually really happy with the fit - hurrah! I think part of the problem I experienced with the fitting was due to my hip to waist ratio and it will be interesting to see whether this is the case on future projects.
All in all another satisfying sew with an easy to follow pattern and I'll definitely get plenty of wear out of it if this lovely weather continues! I think this skirt would look fabulous in our lovely denim too!
Have fun sewing!
Lucy
For more tips and tricks on how to make sewing easy you can follow our blog via Bloglovin and receive updates via email each time a new post is added.
Follow us on Facebook Twitter and Instagram for news, tutorials, special offers, sales and more.