Learning to sew buttonholes is a great way to expand your sewing knowledge and create sewing projects you can be really proud of.
Sewing machines either come with the option for a one step buttonhole (see our step by step tutorial for how to sew a one step buttonhole here) or a four step buttonhole. In this article we will show you step by step how to sew a four step buttonhole.
Entry level sewing machines usually come with a four step buttonhole and therefore this is often the first type a beginner sewer will learn to sew. As sewing machines become more advanced and go up in price range you will often find they come with the option for a one step buttonhole.
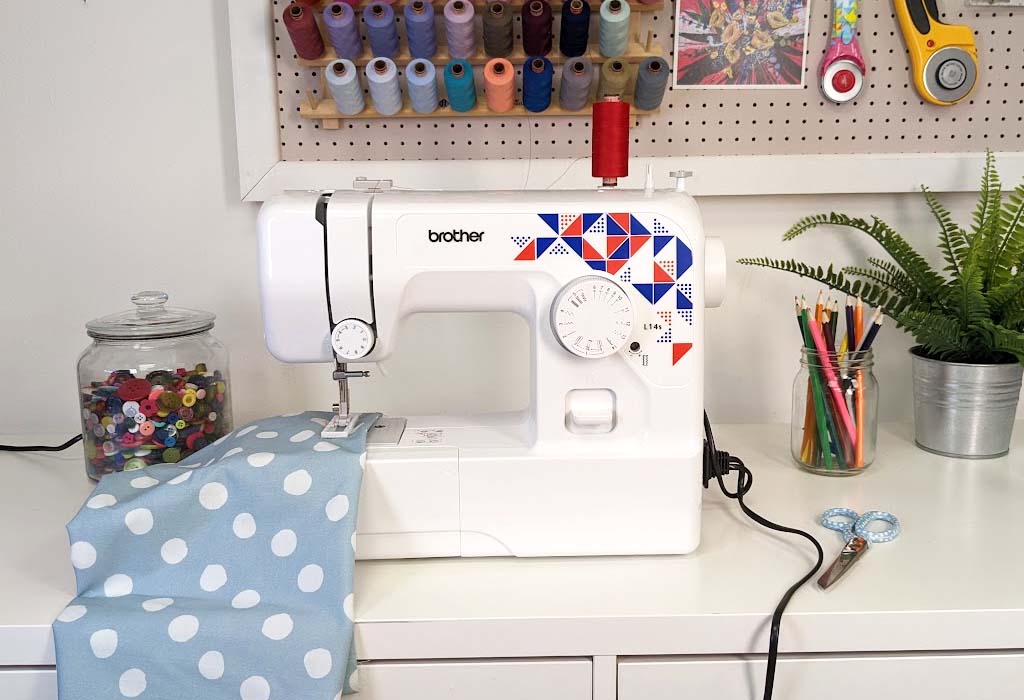
For the purposes of this article we are using the Brother L14S sewing machine. Different models and makes of machine will vary slightly in how the four step buttonhole is sewn, but the overall theory will be very similar.
We always recommend testing out your buttonholes on scraps of fabric before sewing the real thing and using a stabiliser or interfacing on your fabric where the buttonhole will be sewn. You can find lots of other tips for sewing buttonholes in our tutorial article here.
Sewing a Four Step Buttonhole
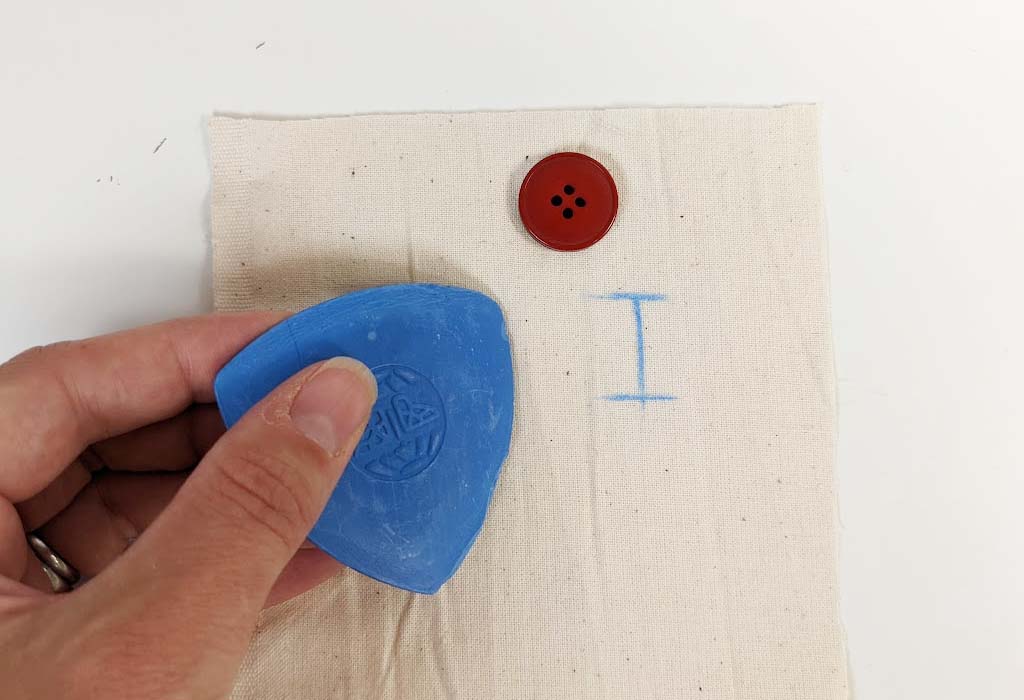
Start by marking the buttonhole on the fabric. Remember it will need to be a little bigger than the button itself so that the button fits through. You can always do a practice run and cut it open to test it.

Bring the bobbin thread up in the usual way and position it to the side or back.
Attach the buttonhole foot to the machine making sure the slider is pushed right to the front of the foot.

Position the fabric so that the foot is in the correct starting point. For the Brother L14S this is at the bottom end of the buttonhole, nearest you with the centre of the gap in the foot lined up with the centre of the buttonhole.

Position the needle thread under the foot and towards the back.
Choose the buttonhole stitch start position on your machine. On the Brother L14S this is stitch number 1 - a.

You may notice the stitches look different on the two long sides of the buttonhole and on some machines there is an option to fine tune it. On the Brother L14S it is a little screw next to the stitch selector dial, which you can adjust to make the stitches more even.

Sew the first step of the buttonhole, the bartack at the end nearest you. Stop after 6 stitches with the needle at the left side of the stitches and lift the needle.
Turn the stitch selector dial to the second step 'b' and sew the long side of the buttonhole until you reach the end of your marking. Stop with the needle at the left side of the stitches and lift the needle.
Turn the stitch selector dial to the third step 'c' and sew the bartack, stopping after 6 stitches with the needle at the right side of the stitches and raise the needle.
Turn the stitch selector dial to the final step 'd' and sew the final bartack.
You have sewn a four step buttonhole, well done - time for a cup of tea!

Have fun sewing!
Lucy
For more tips and tricks on how to make sewing easy you can follow our blog via Bloglovin and receive updates via email each time a new post is added.
Follow us on Facebook Twitter YouTube and Instagram for news, tutorials, special offers, sales and more.
